
Want to recreate the tzatziki you had on holiday in Greece? Now you can! This Authentic Greek Tzatziki recipe comes directly from an experienced Greek cook and tastes so much better than store-bought tzatziki.
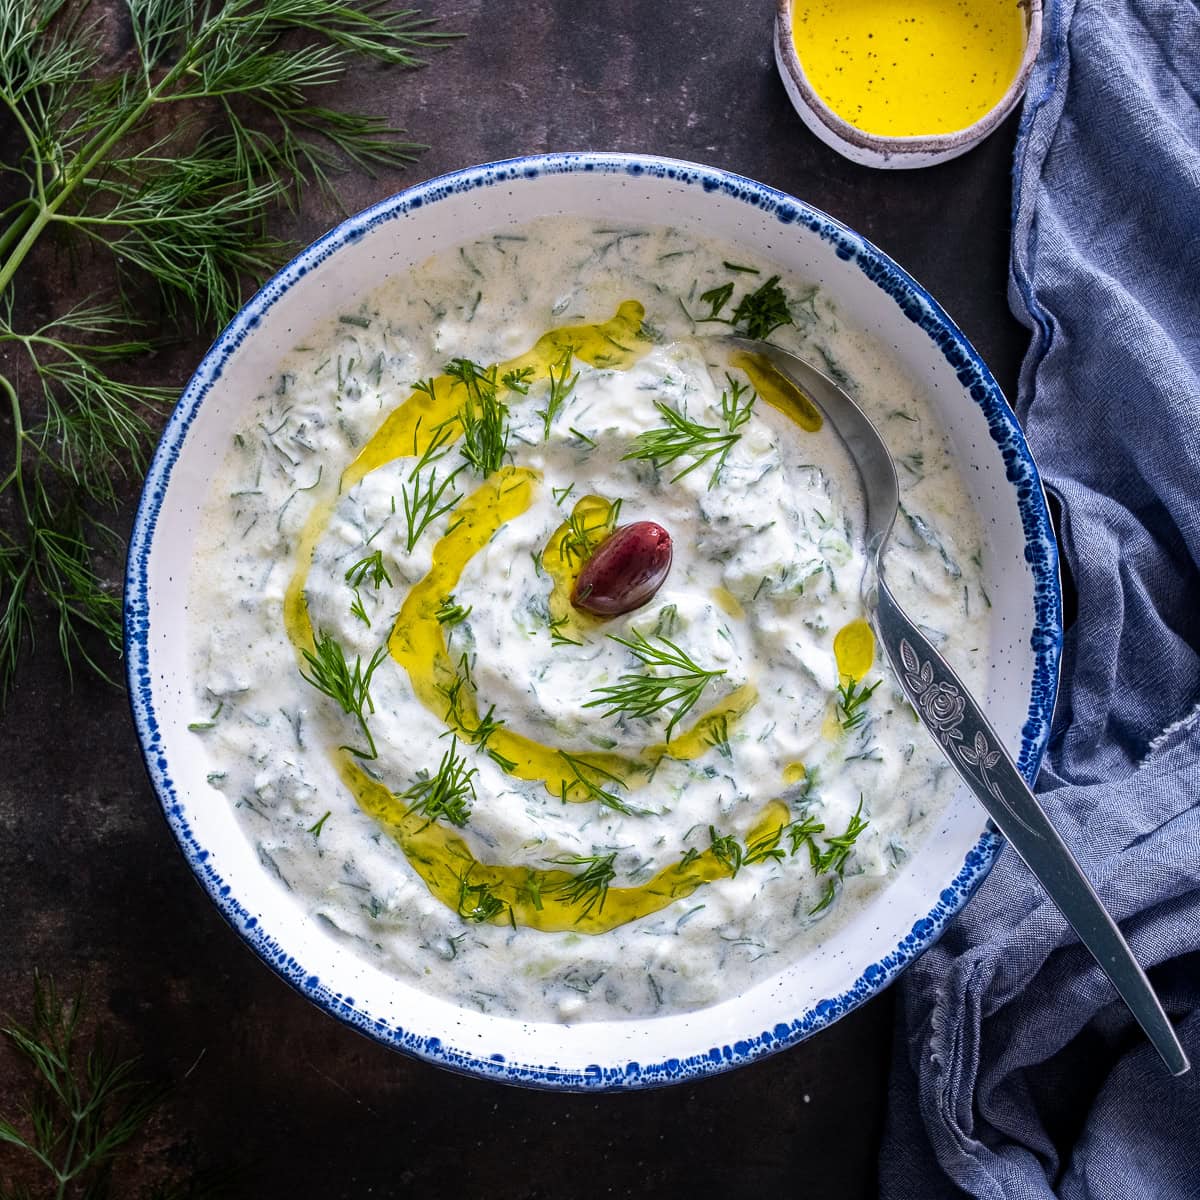
Authentic Greek Tzatziki – as taught by an experienced Greek cook!
My family and I went to Crete on holiday this year, and one of the highlights of the trip was, without question, the Greek cooking class we went to in the White Mountains.
We were taught how to make a range of traditional Greek recipes, and one of them was this delicious Authentic Greek Tzatziki.
As you can see, the recipe is very simple… but the flavour is next level!
What herb should you use in Authentic Greek Tzatziki?
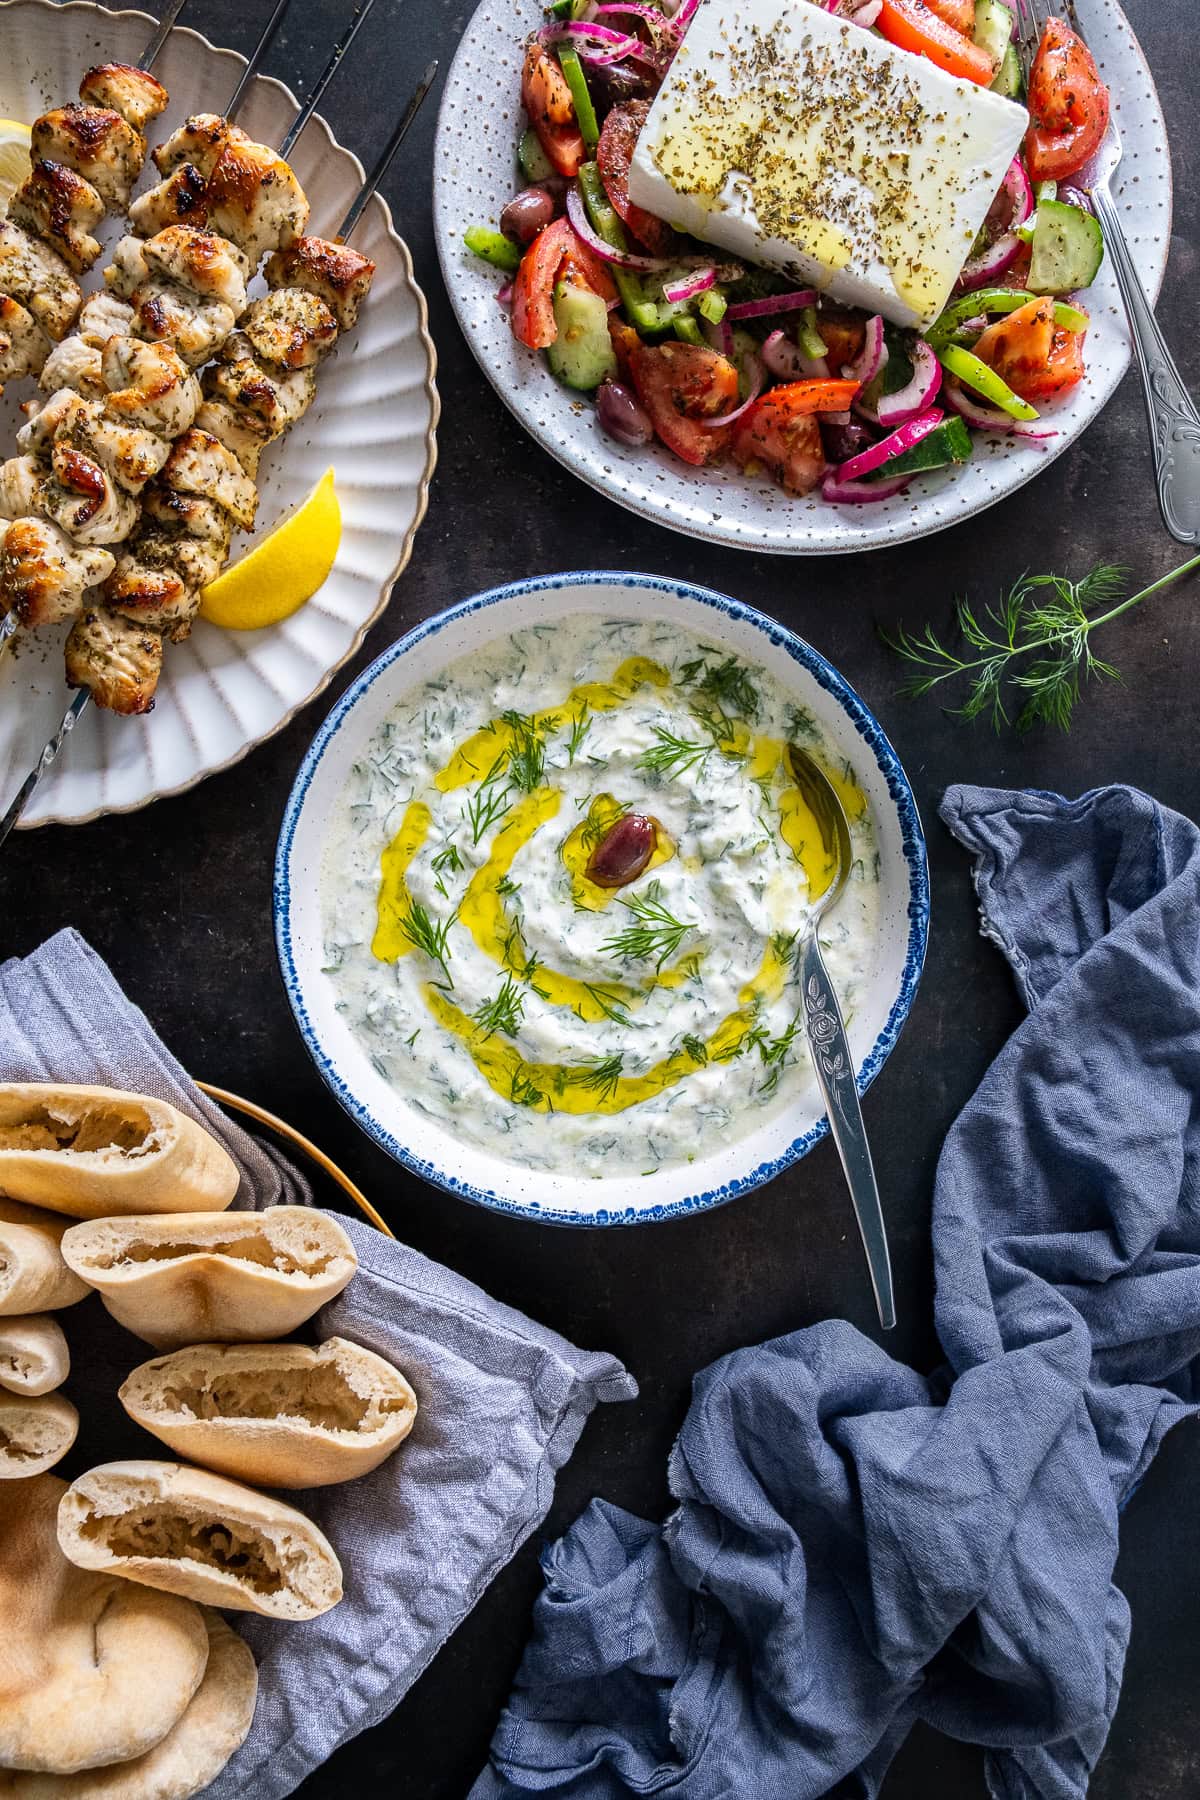
I have made one small tweak to the recipe given to us in the cooking class, and that is I have added fresh dill.
Apparently, in Crete is not normal to add any herbs at all, but in other parts of Greece dill is commonly added.
I honestly love this both ways, but I have a slight preference for the no-dill version.
However, dill looks prettier in the photos and it’s what a lot of people expect, so I’ve included it in the photos for this dish.
As an alternative, you can also use fresh mint. Fresh mint is not as commonly used as dill, but it tastes really good!
(And if you really can’t decide, some recipes add both 😂)
I’ll leave it up to you which option you choose!
How to make Authentic Greek Tzatziki
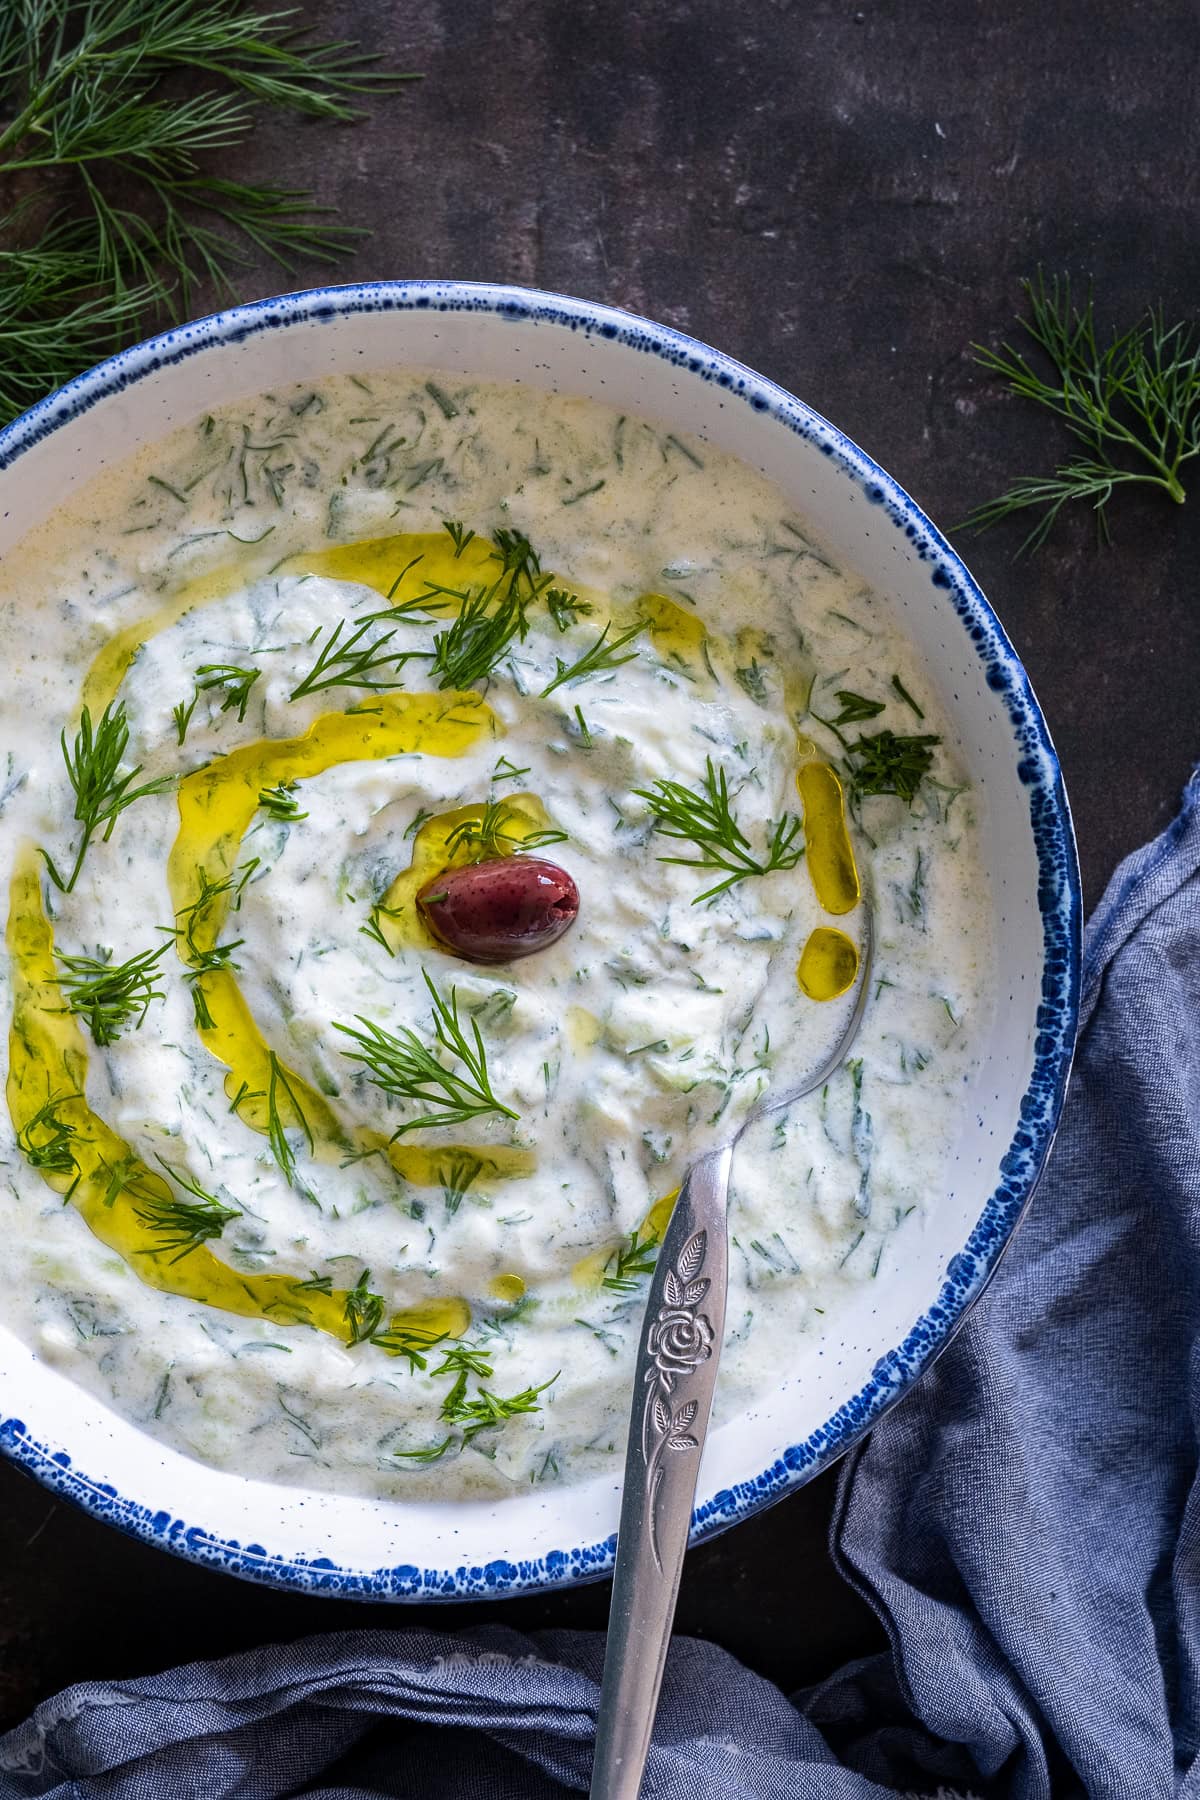
Authentic Greek Tzatziki is super easy to make and takes just 10 minutes to make!
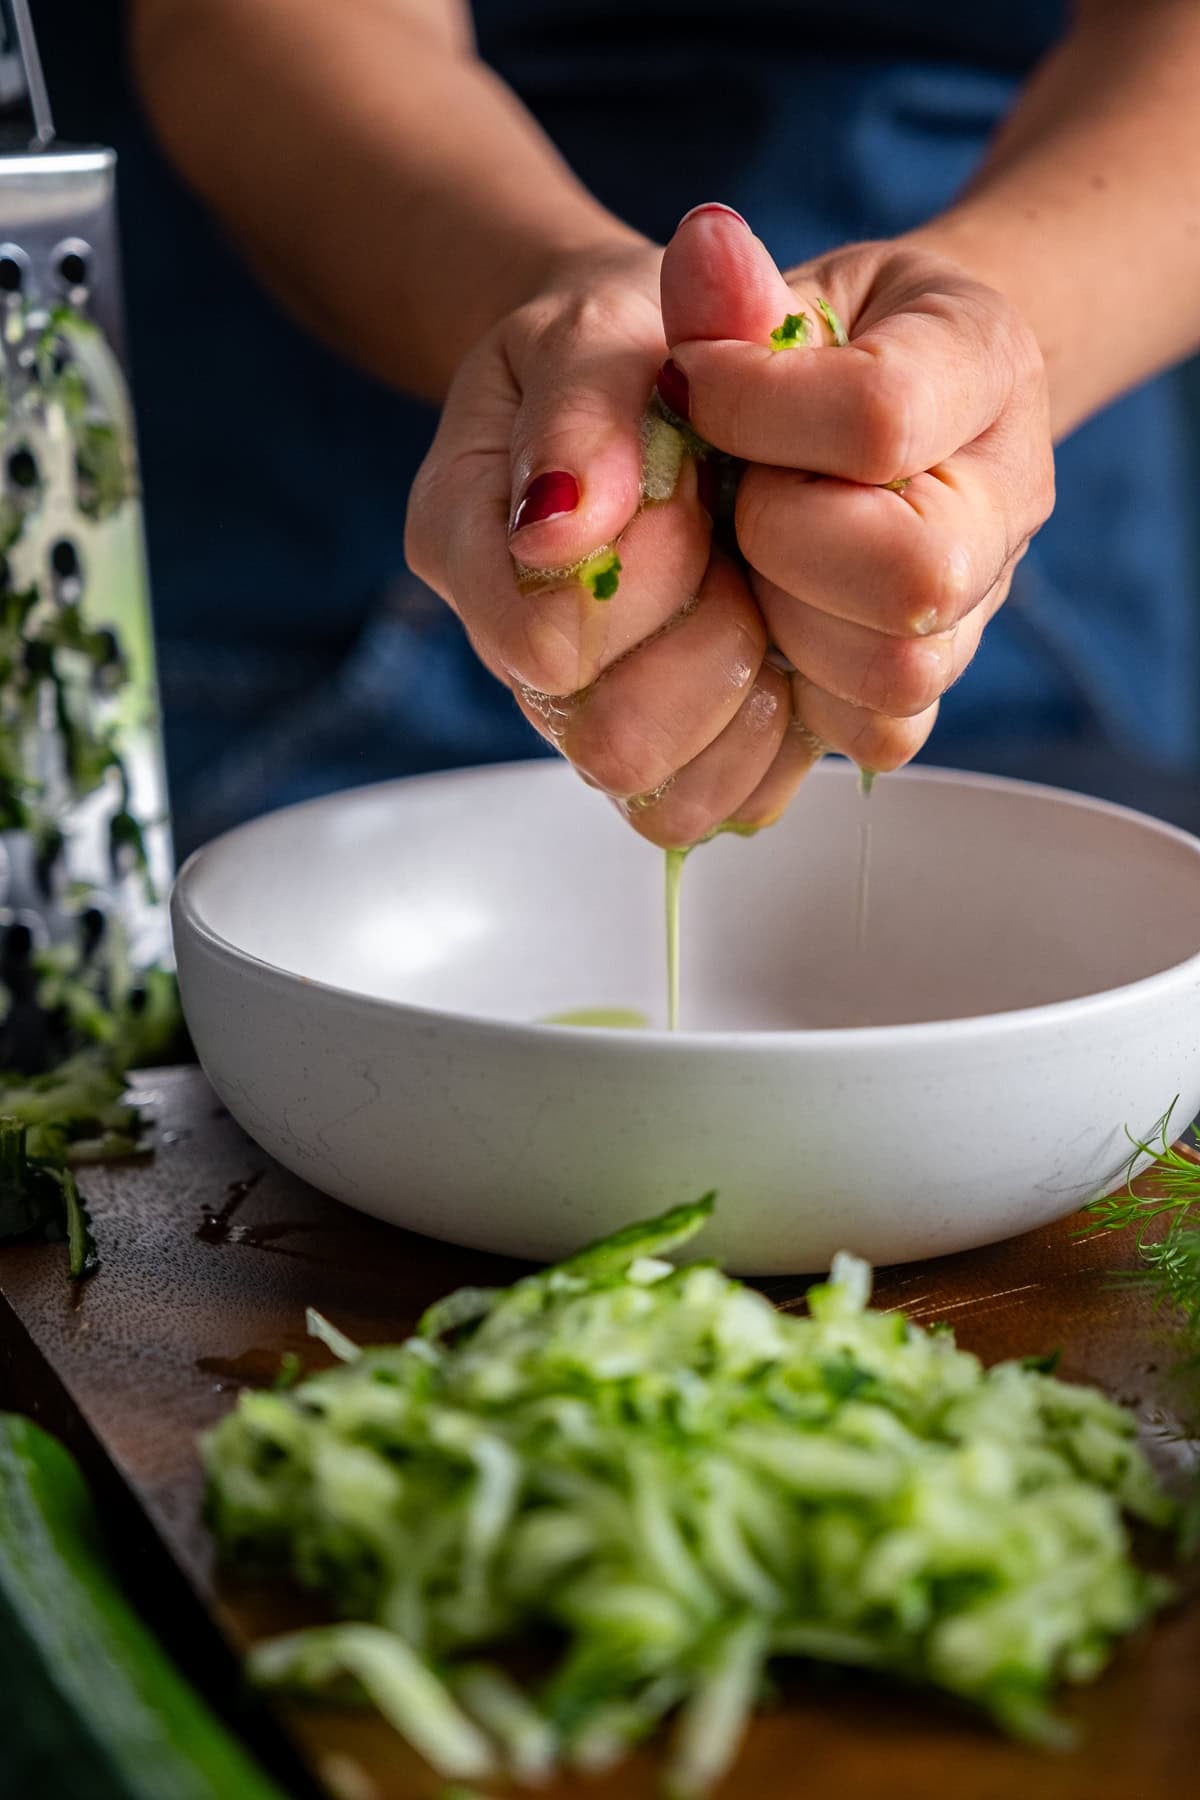
All you need to do is grate cucumber and squeeze out the moisture. Then, add garlic, yogurt, salt, vinegar, olive oil and dill (if using).
Stir everything together and then place in the fridge until you are ready to serve.
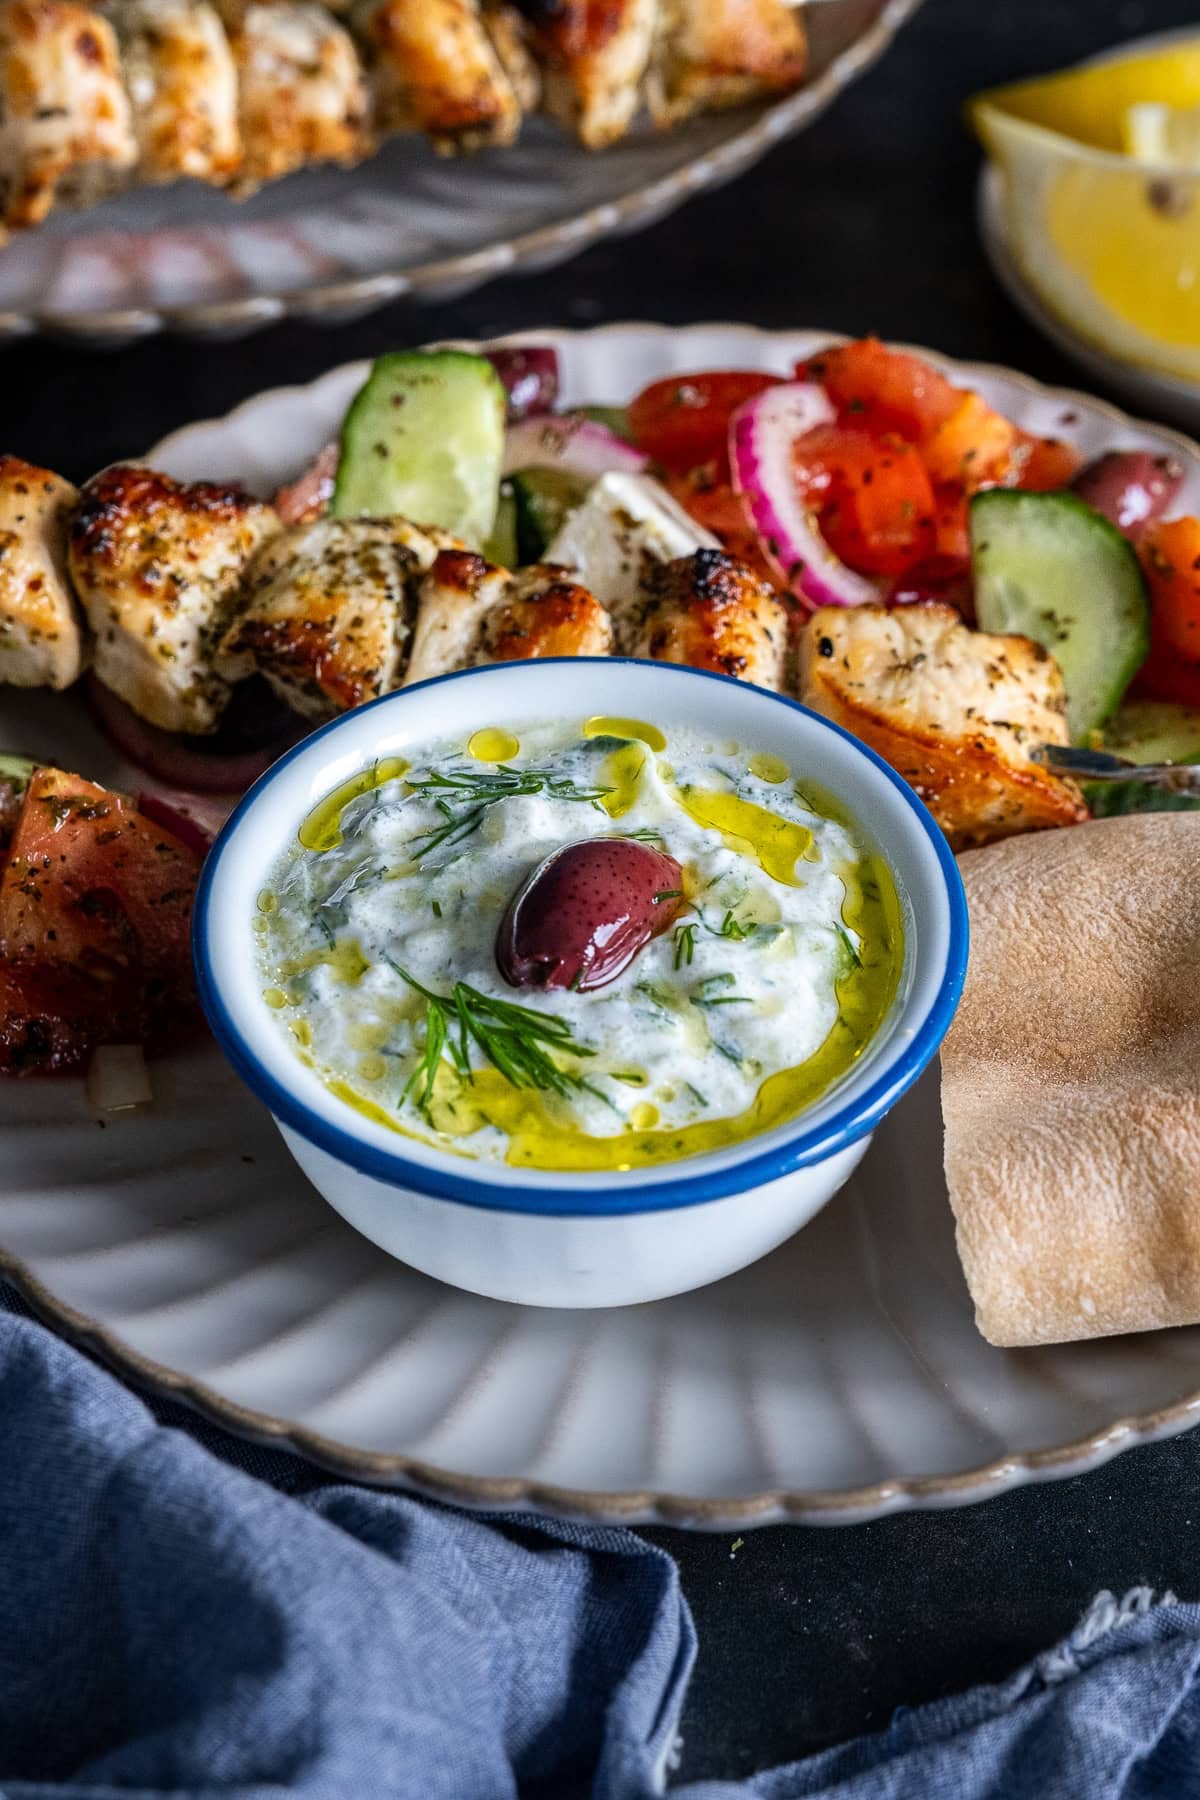
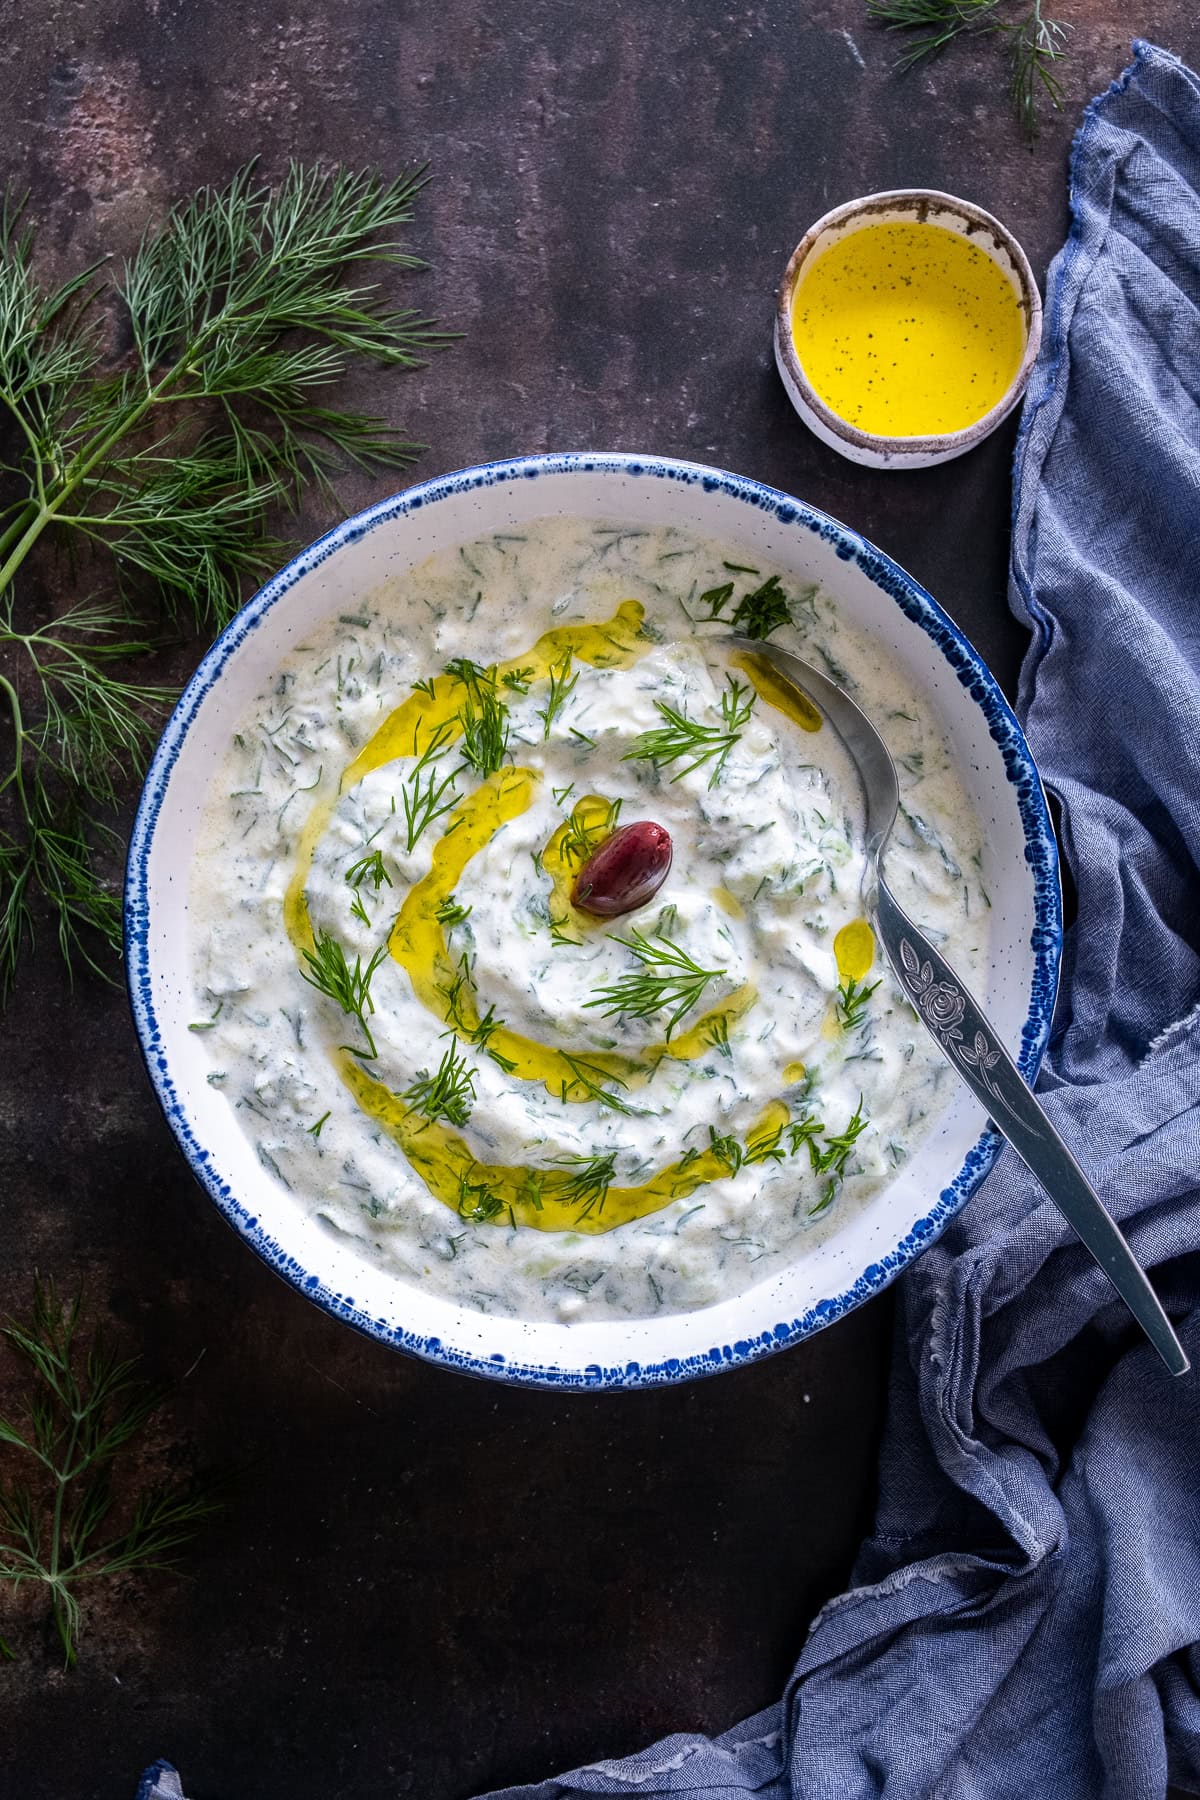
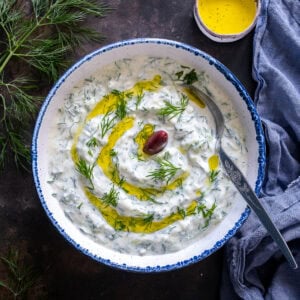
When you are ready to serve, give the tzatziki a stir and garnish with more fresh dill, a drizzle of olive oil and a single kalamata olive in the centre.
(Full recipe given in the recipe card below.)
What to serve Authentic Greek Tzatziki with
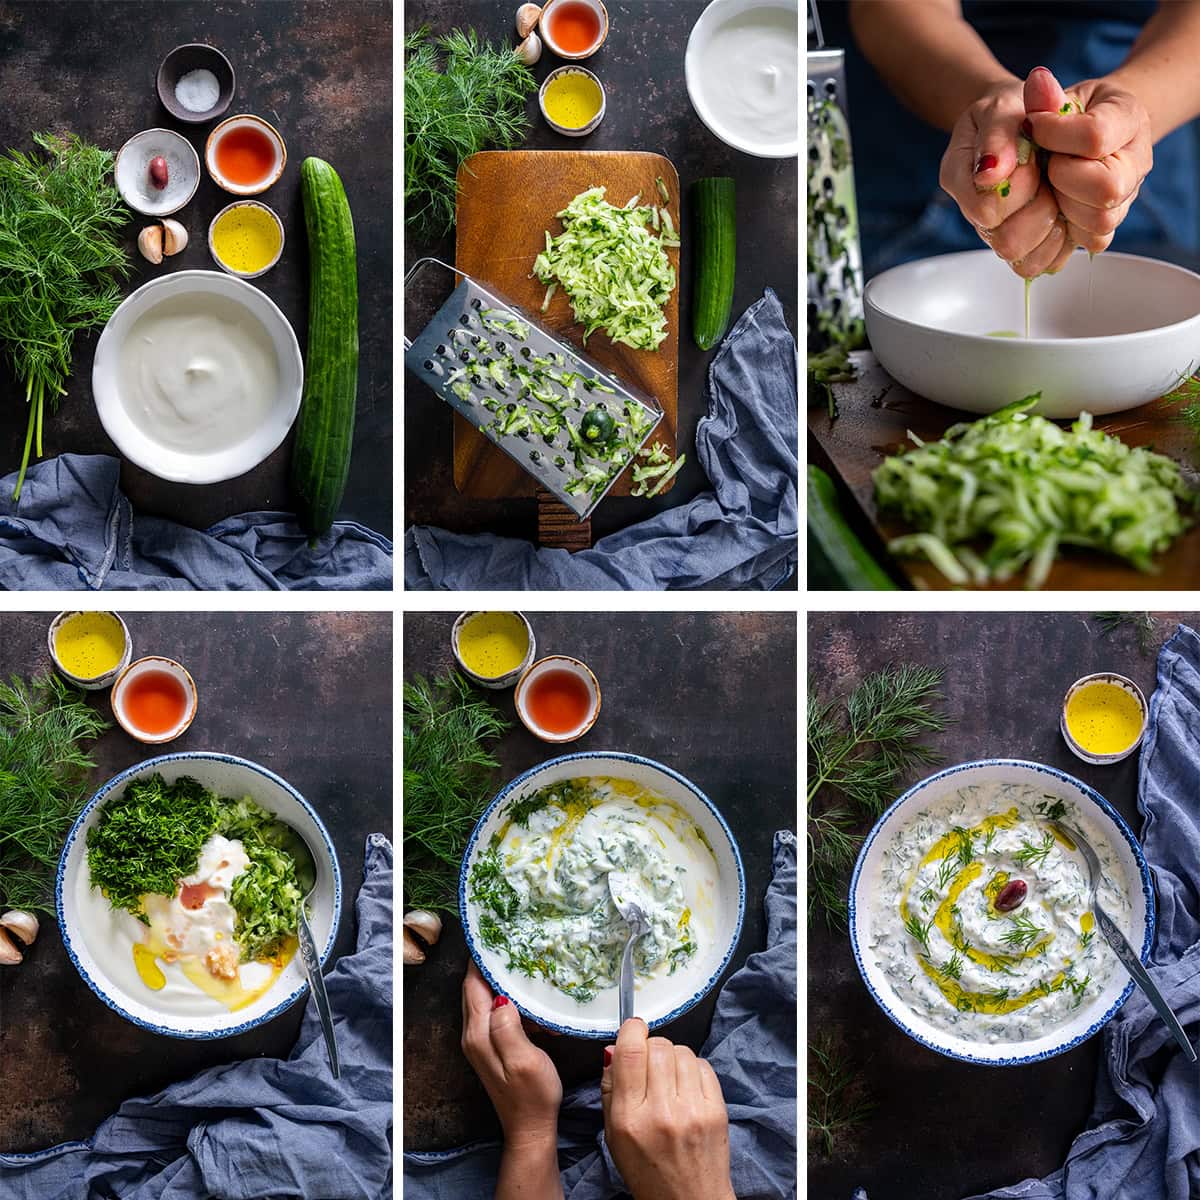
You can serve this Authentic Greek Tzatziki with all your favourite Greek and Greek Inspired recipes.
For example…
- Easy Chicken Souvlaki
- Easy Lamb Souvlaki
- Greek Roast Chicken & Potatoes
- Easy Lamb Moussaka
- Easy Greek Salad
- Easy Homemade Pittas
Tzatziki also goes very well with lots of non-Greek food, such as Chicken Schawarma, Shish Kebabs, Chicken Tikka and Lamb Koftes.
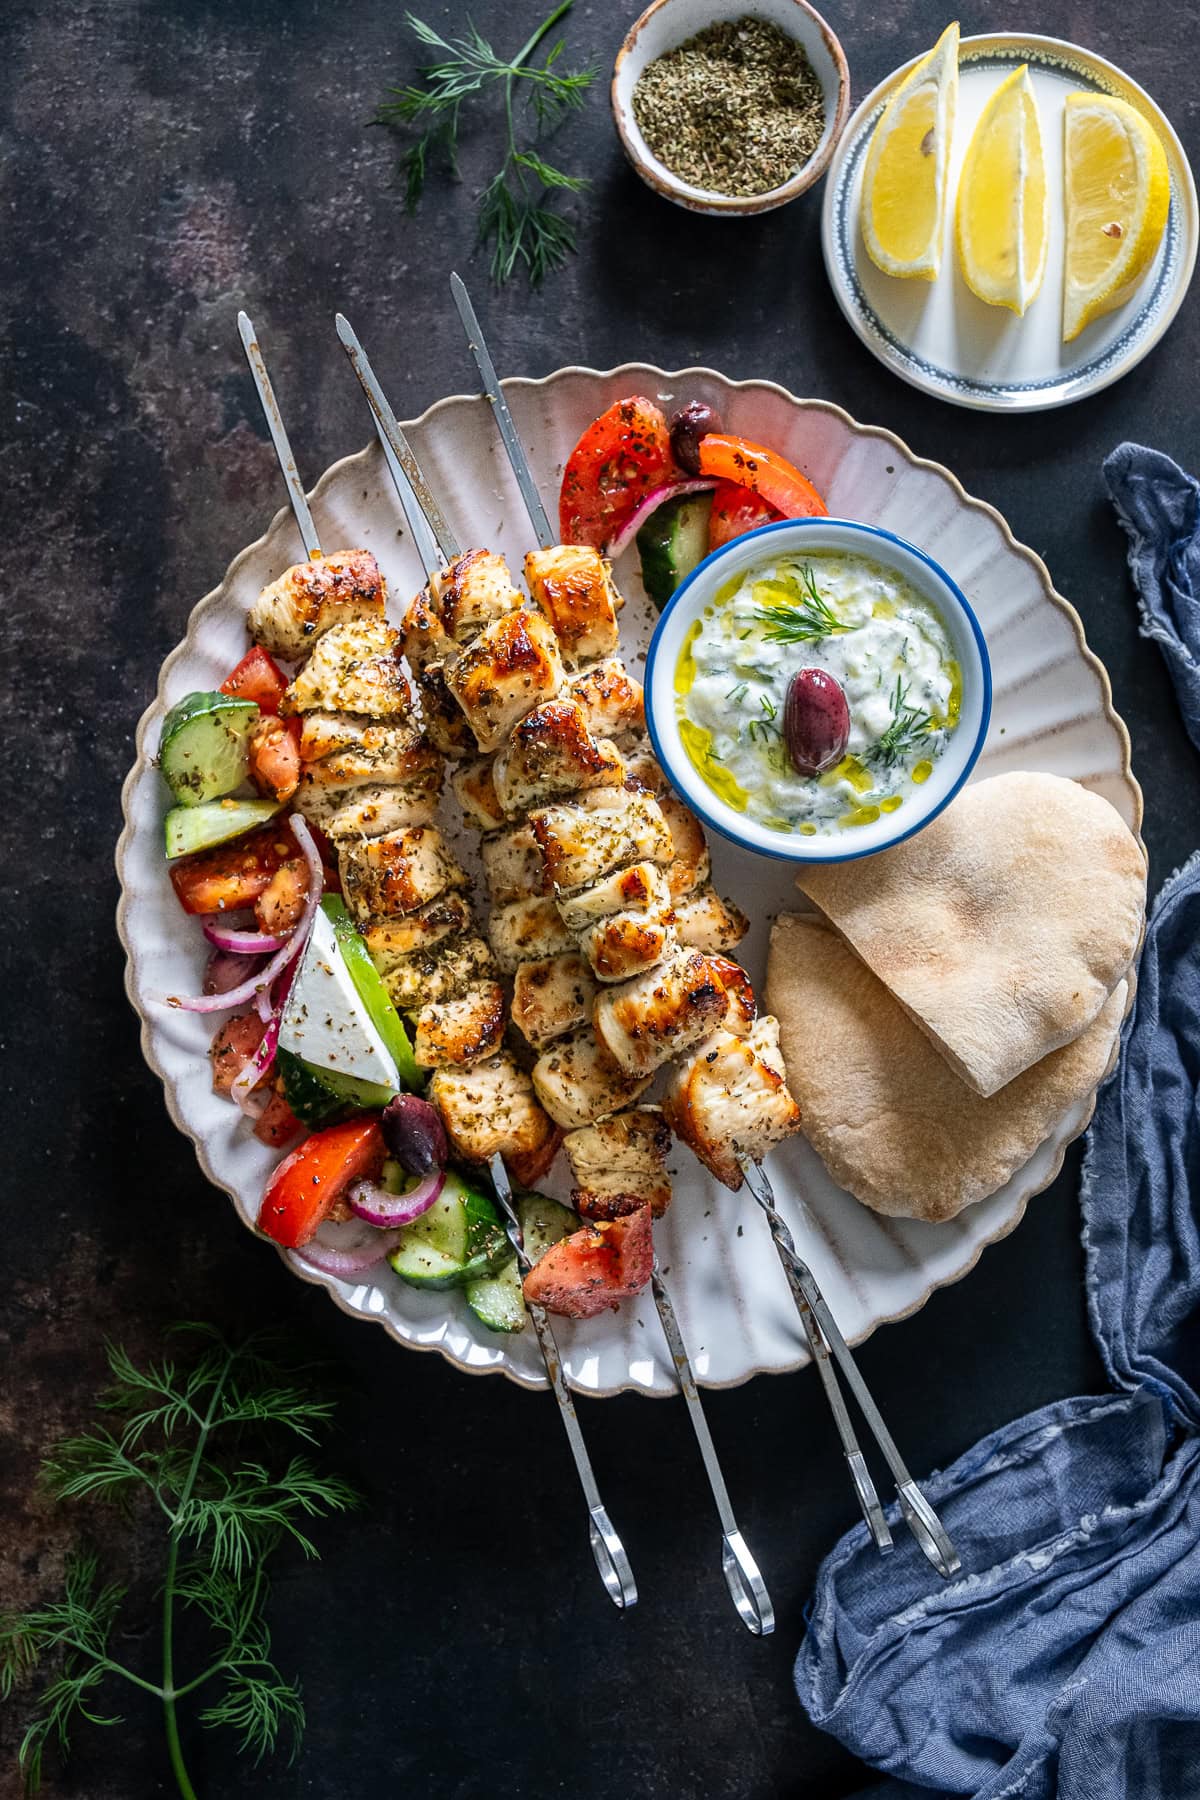
Easy Chicken Souvlaki
Do you need to remove the cucumber skin and seeds for Authentic Greek Tzatziki?
Some recipes call for the removal of both the cucumber skin and the seeds, others don’t.
Personally I see no need to remove the cucumber skin and seeds – it feels like extra, unnecessary effort and it also seems a little wasteful.
However, if you prefer, you can of course remove the skin/seeds. In which case, you will need 150g / 5oz cucumber AFTER you’ve removed the skin and seeds.
Either way, be sure to squeeze the excess water out of the cucumber before adding it it the tzatziki or your tzatziki will be watery and unpleasant!
What to do with leftover Tzatziki
Put any leftover tzatziki in a lidded container and refrigerate. Leftover tzatziki will keep for up to 3 days in the fridge.
Can you freeze tzatziki?
No, tzatziki does not freeze well.
If you try to freeze tzatziki, the yogurt will likely separate and turn watery, while the cucumber will lose its crispness and go mushy.
If you like this recipe…
…you might also like:
- Cucumber Mint Raita
- 5 Minute Blender Salsa
- Easy 4 Ingredient Guacamole
- Perfect Homemade Hummus
- Roasted Red Pepper and Smoked Paprika Hummus
- Roasted Pumpkin Hummus

5 Minute Blender Salsa
Authentic Greek Tzatziki
Ingredients
- ½ cucumber (roughly 150g/5oz – See Note 1)
- 2 garlic cloves crushed or grated
- 300 g full fat Greek yogurt
- ½ teaspoon salt
- 1 tablespoon red wine vinegar
- 2 tablespoons extra virgin olive oil (ideally Greek!)
- 2 tablespoons fresh dill chopped finely, plus extra for garnish (optional – see Note 2)
- 1 kalamata olive for garnish (optional – see Note 3)
Instructions
- Start by grating the cucumber on the coarse side of your grater onto a board.
- Then, take a handful of the grated cucumber and squeeze the grated cucumber over a bowl to get rid of as much of the moisture as you can.
- Put the squeezed cucumber into a new bowl and repeat, until all the cucumber has been squeezed out and put into the new bowl.
- Add the garlic, yogurt, salt, vinegar, olive oil and dill.
- Stir everything together and then cover the tzatziki (with clingfilm, foil or a plate) and put it into the fridge until you are ready to serve. (See Notes 4&5.)
- When you are ready to serve, give the tzatziki a stir and garnish with more fresh dill, a drizzle of olive oil and a single kalamata olive in the centre.
Notes
- Some recipes call for the removal of both the cucumber skin and the seeds. Personally I see no need for that – it feels like extra, unnecessary effort and it also seems a little wasteful. However, if you prefer, you can of course remove the skin/seeds. In which case, you will need 150g / 5oz cucumber AFTER you’ve removed the skin and seeds.
- Some authentic Greek tzatziki recipes include fresh dill, while others don’t. It’s up to you if you include dill or not. You can also use fresh mint, if you prefer – while not so common, it does taste very good!
- Tzatziki is often served in Greece and Greek restaurants with a single kalamata olive in the centre – it doesn’t affect the flavour or do anything magical, so you can absolutely leave it out if you want, but it’s a fun addition if you want that authentic Greek vibe!
- The tzatziki is ready to serve as soon as you have made it but, if you have got the time, it’s even nicer after a little while in the fridge to allow the flavours to mix and mingle.
- When I am cooking a Greek meal, I tend to make the tzatziki first and pop it into the fridge while I cook the rest of my dish. Not only does this mean the tzatziki tastes nicer, but it also means I don’t have to juggle making a dip with cooking the rest of my meal.
- Not suitable for freezing.
- Nutrition information is approximate and meant as a guideline only.
Pin Authentic Greek Tzatziki for later

FREE 4 Week Easy Dinners Meal Plan
Have you got your hands on a copy of my meal plan yet? If not CLICK HERE to download a copy of my FREE 4 Week Easy Dinners Meal Plan today!
Leave a Reply