
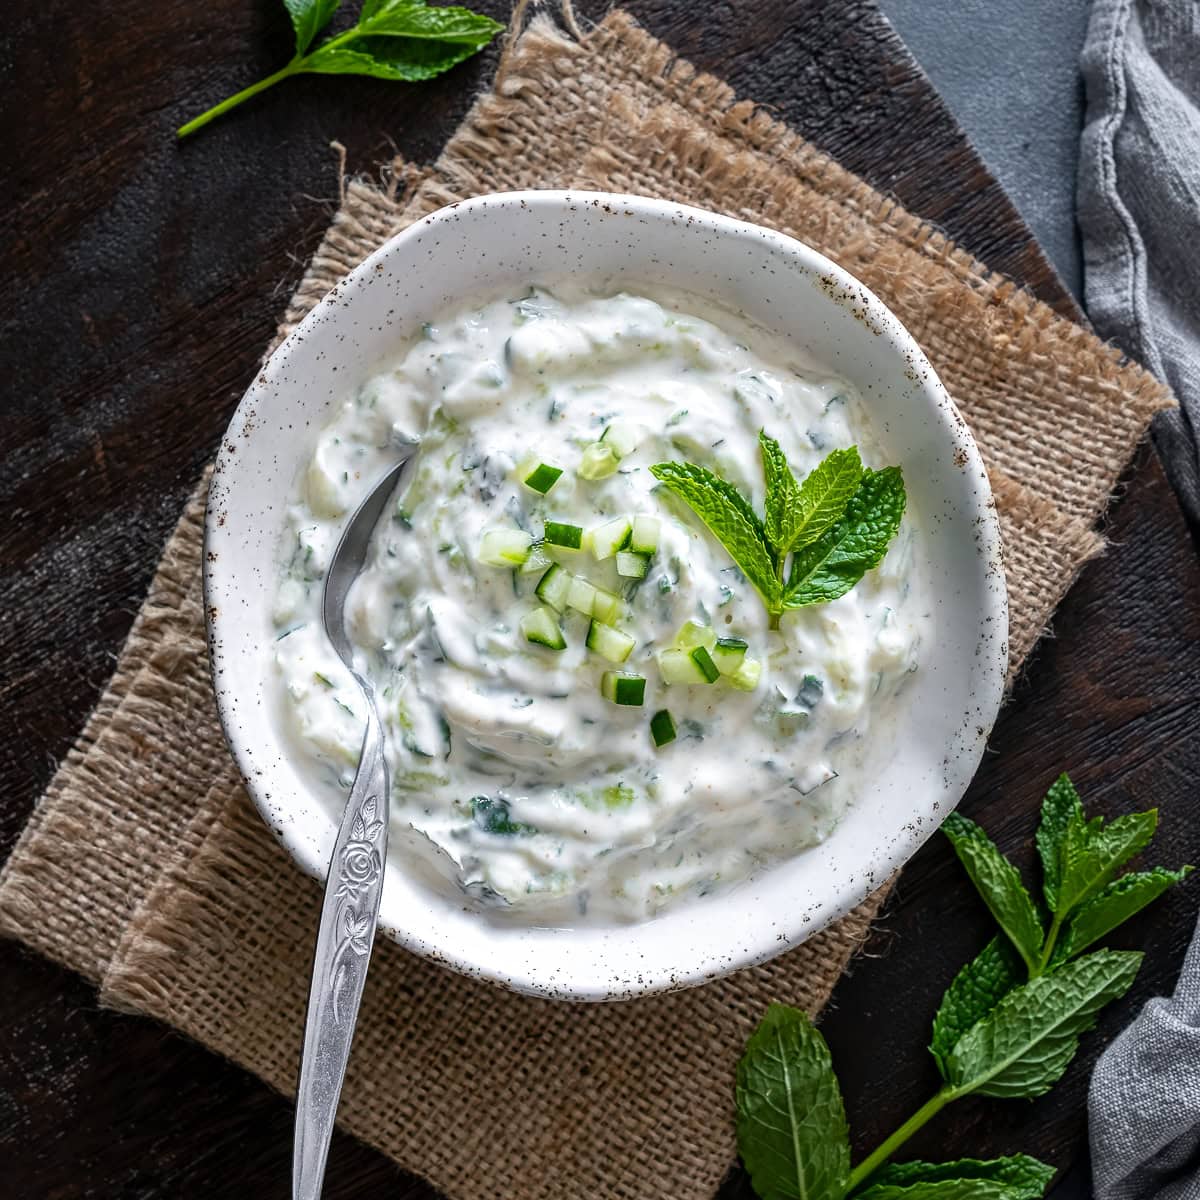
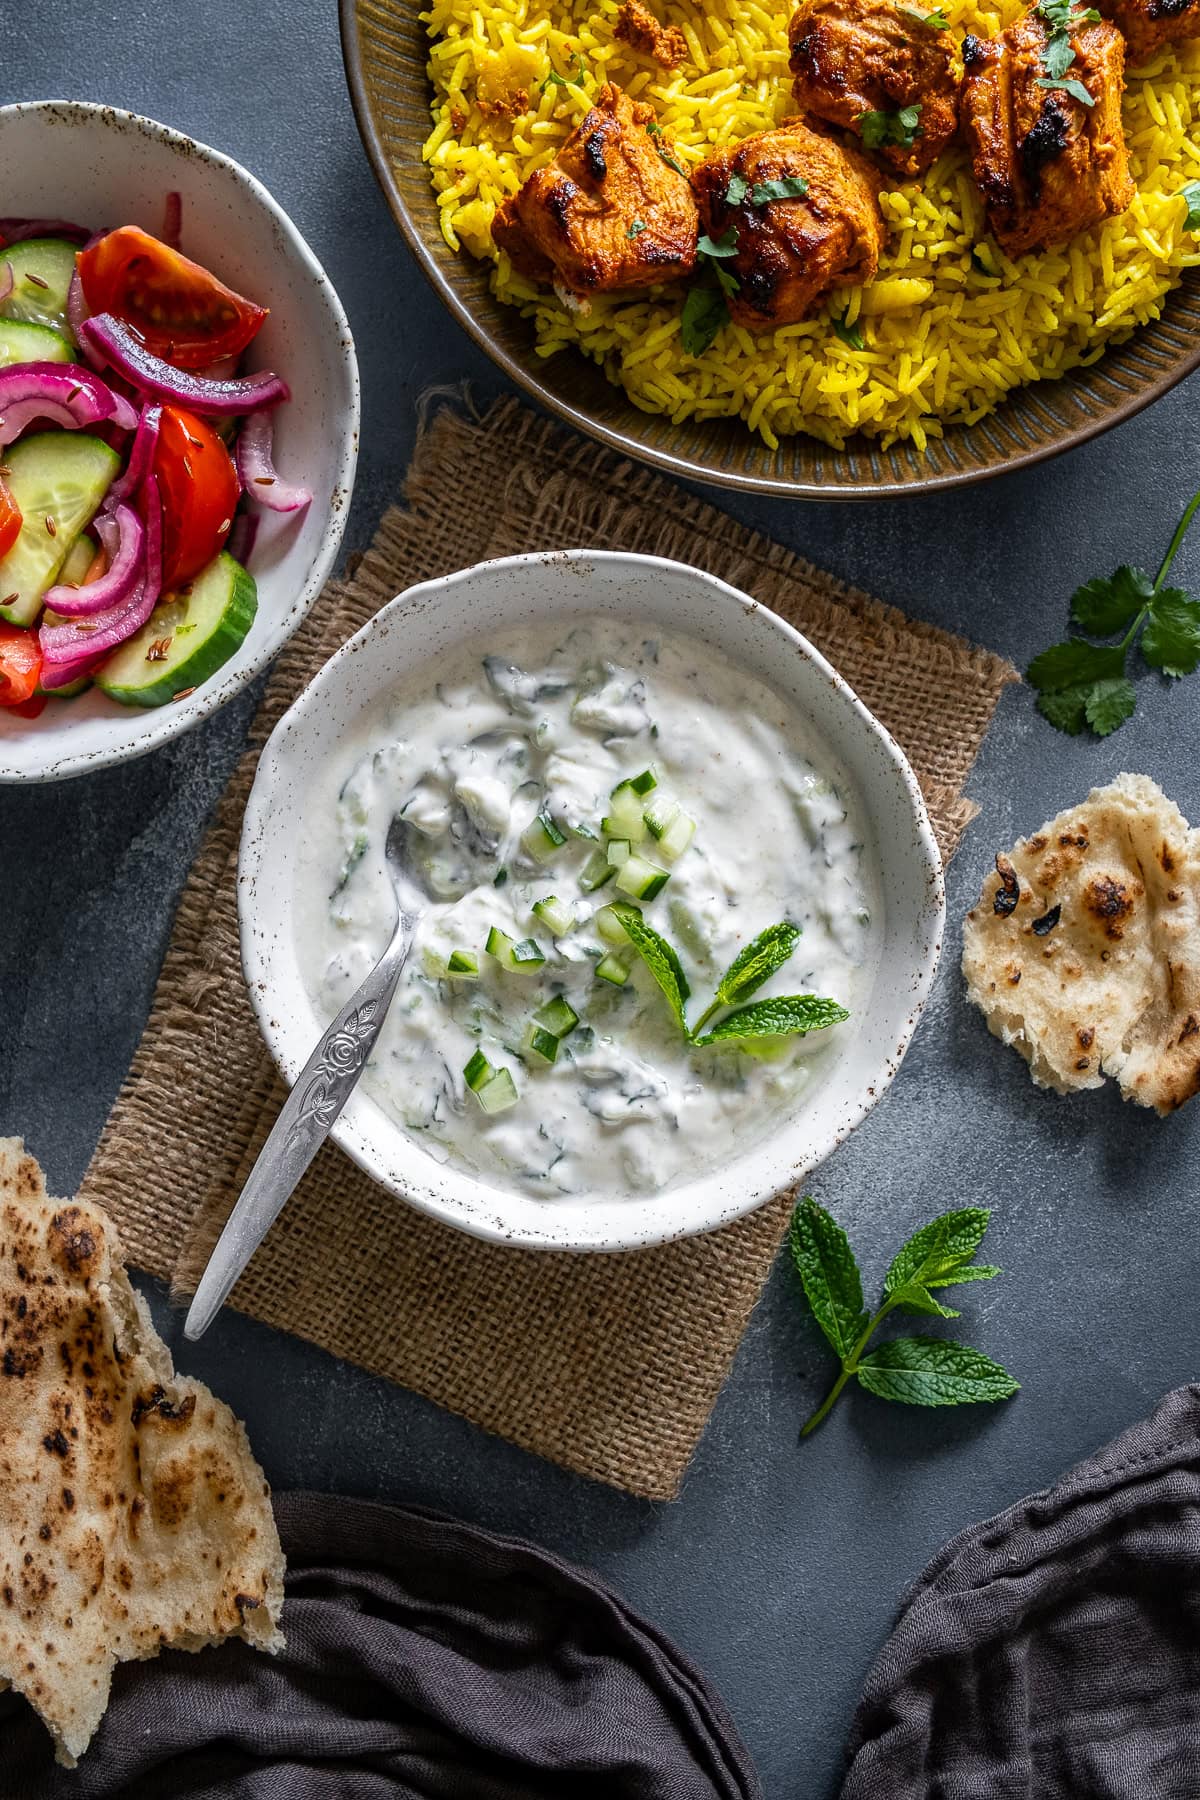
Love the raita you get at your local Indian takeaway? Well now you can make it at home with this delicious homemade Cucumber Mint Raita recipe! It takes just 5 minutes to make and is so much better than shop-bought raita! Raita is especially delicious with poppadoms, onion bhajis and Chicken Tikka Kebabs – but it also tastes great with any of your favourite curries.
Want to make raita at home?
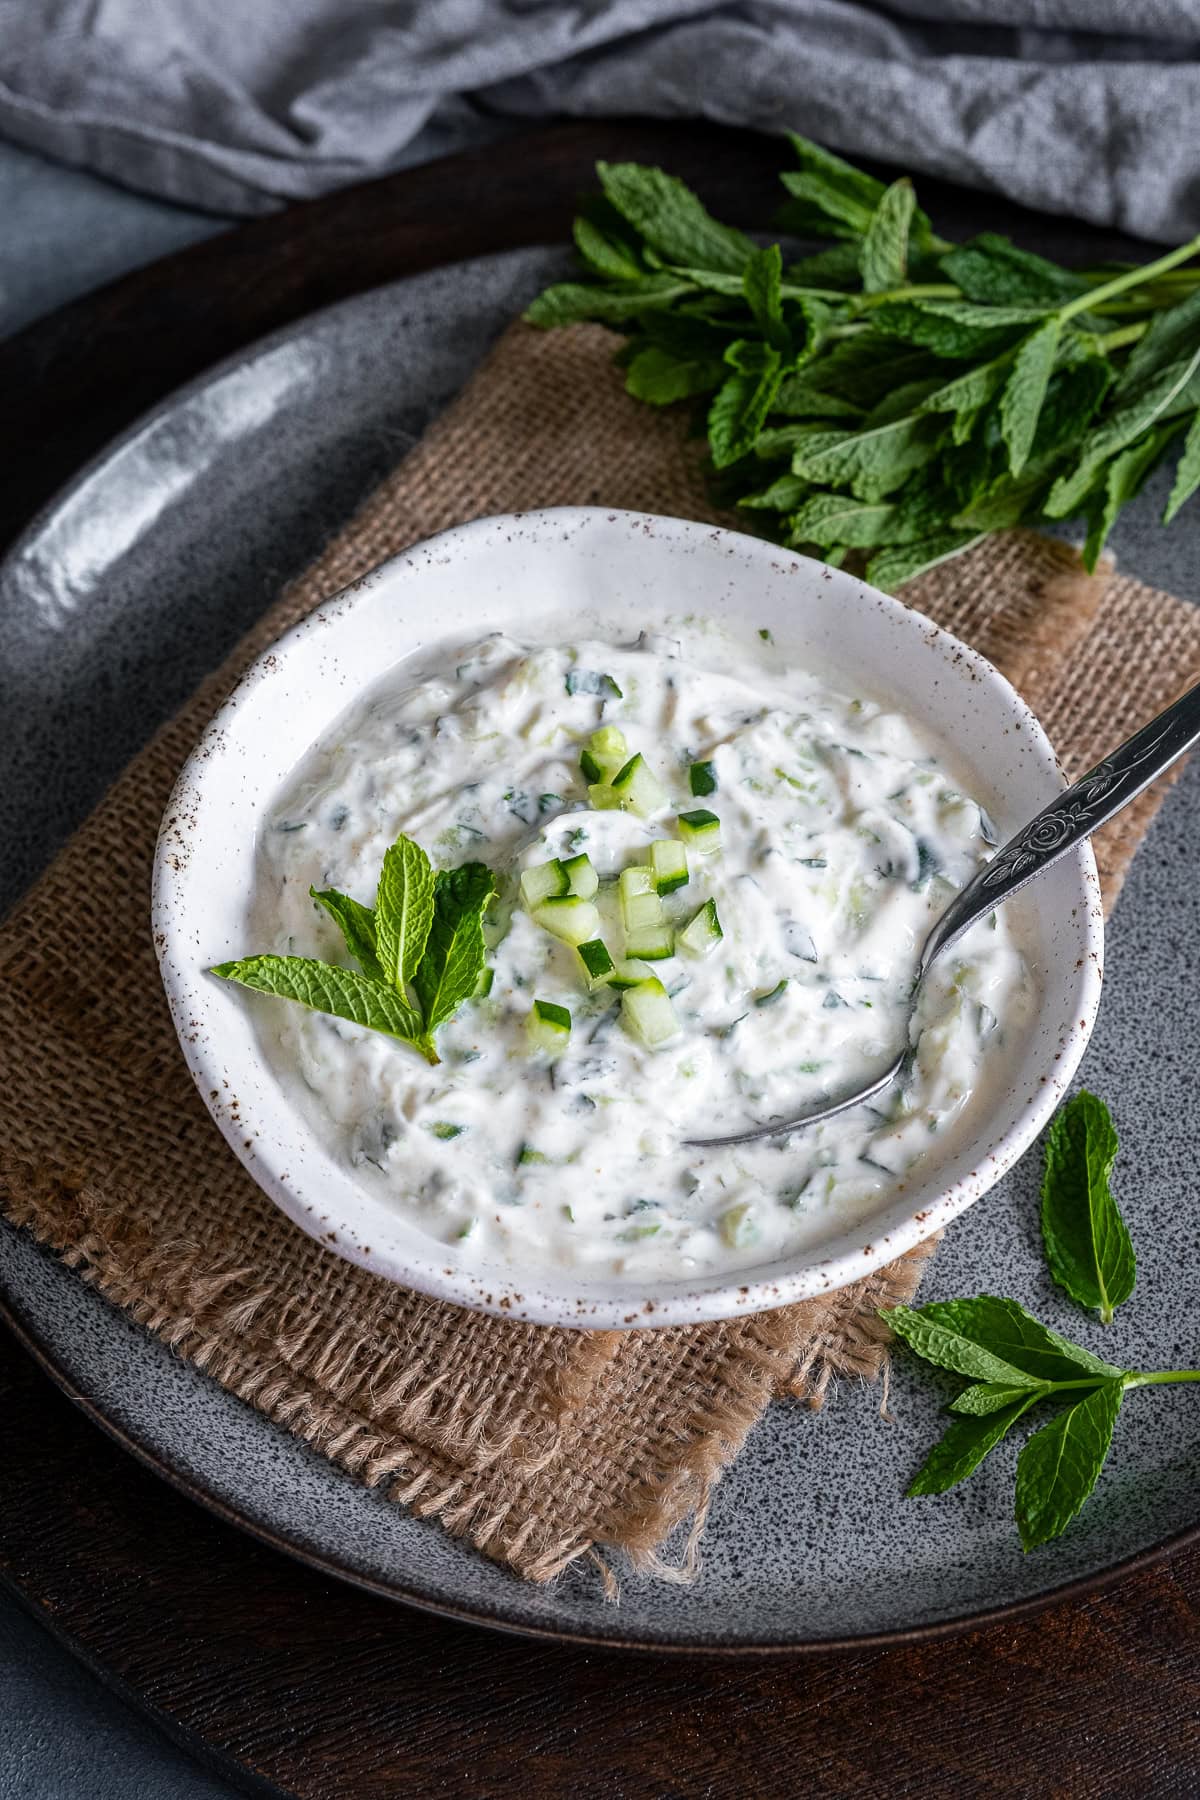
Do you love that delicious minty, yogurt dip you get at your local Indian takeaway? Well now you can make it at home with this delicious homemade Cucumber Mint Raita recipe!
Better still, it’s super quick and easy! It literally takes 5 minutes to make, you only need 4 ingredients (plus salt and pepper) and it is SO MUCH better than shop-bought raita!
How to make homemade raita…
Raita is so easy to make at home!
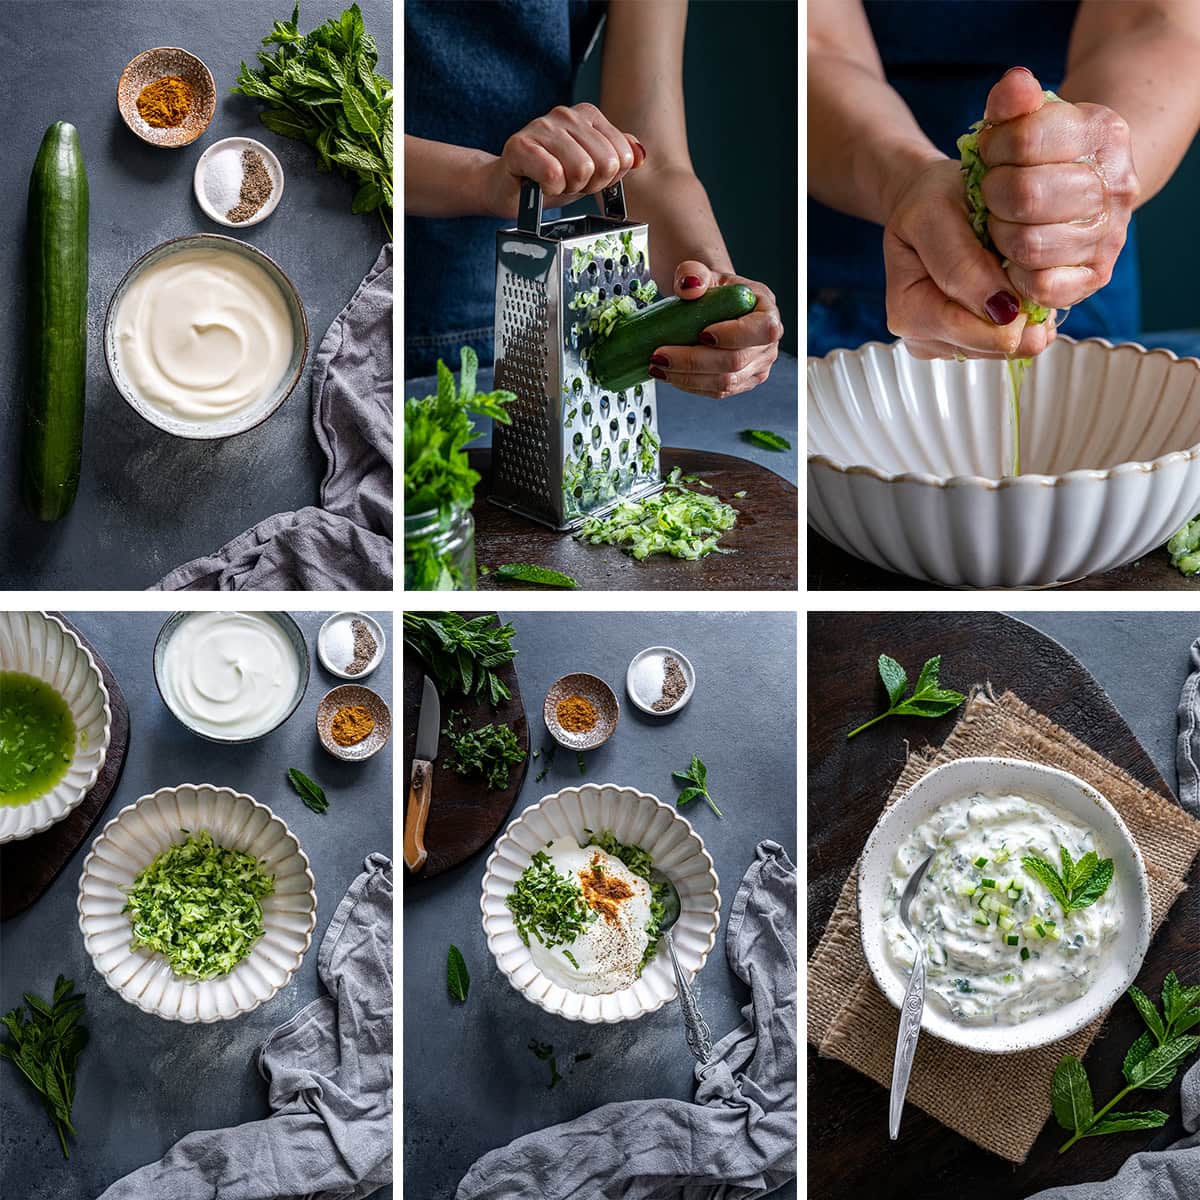
All you need to do is grate half a cucumber, then squeeze out the water. (No need for fancy equipment or long-winded processes – just use your hands and a bowl!)
Place the squeezed-out, grated cucumber in a bowl and add Greek yogurt, ground cumin and chopped mint, plus salt and pepper to taste, then give it a good stir – that’s it! Easy peasy.
(Full recipe given in the recipe card below.)
What to serve with raita
Raita goes with so many things!
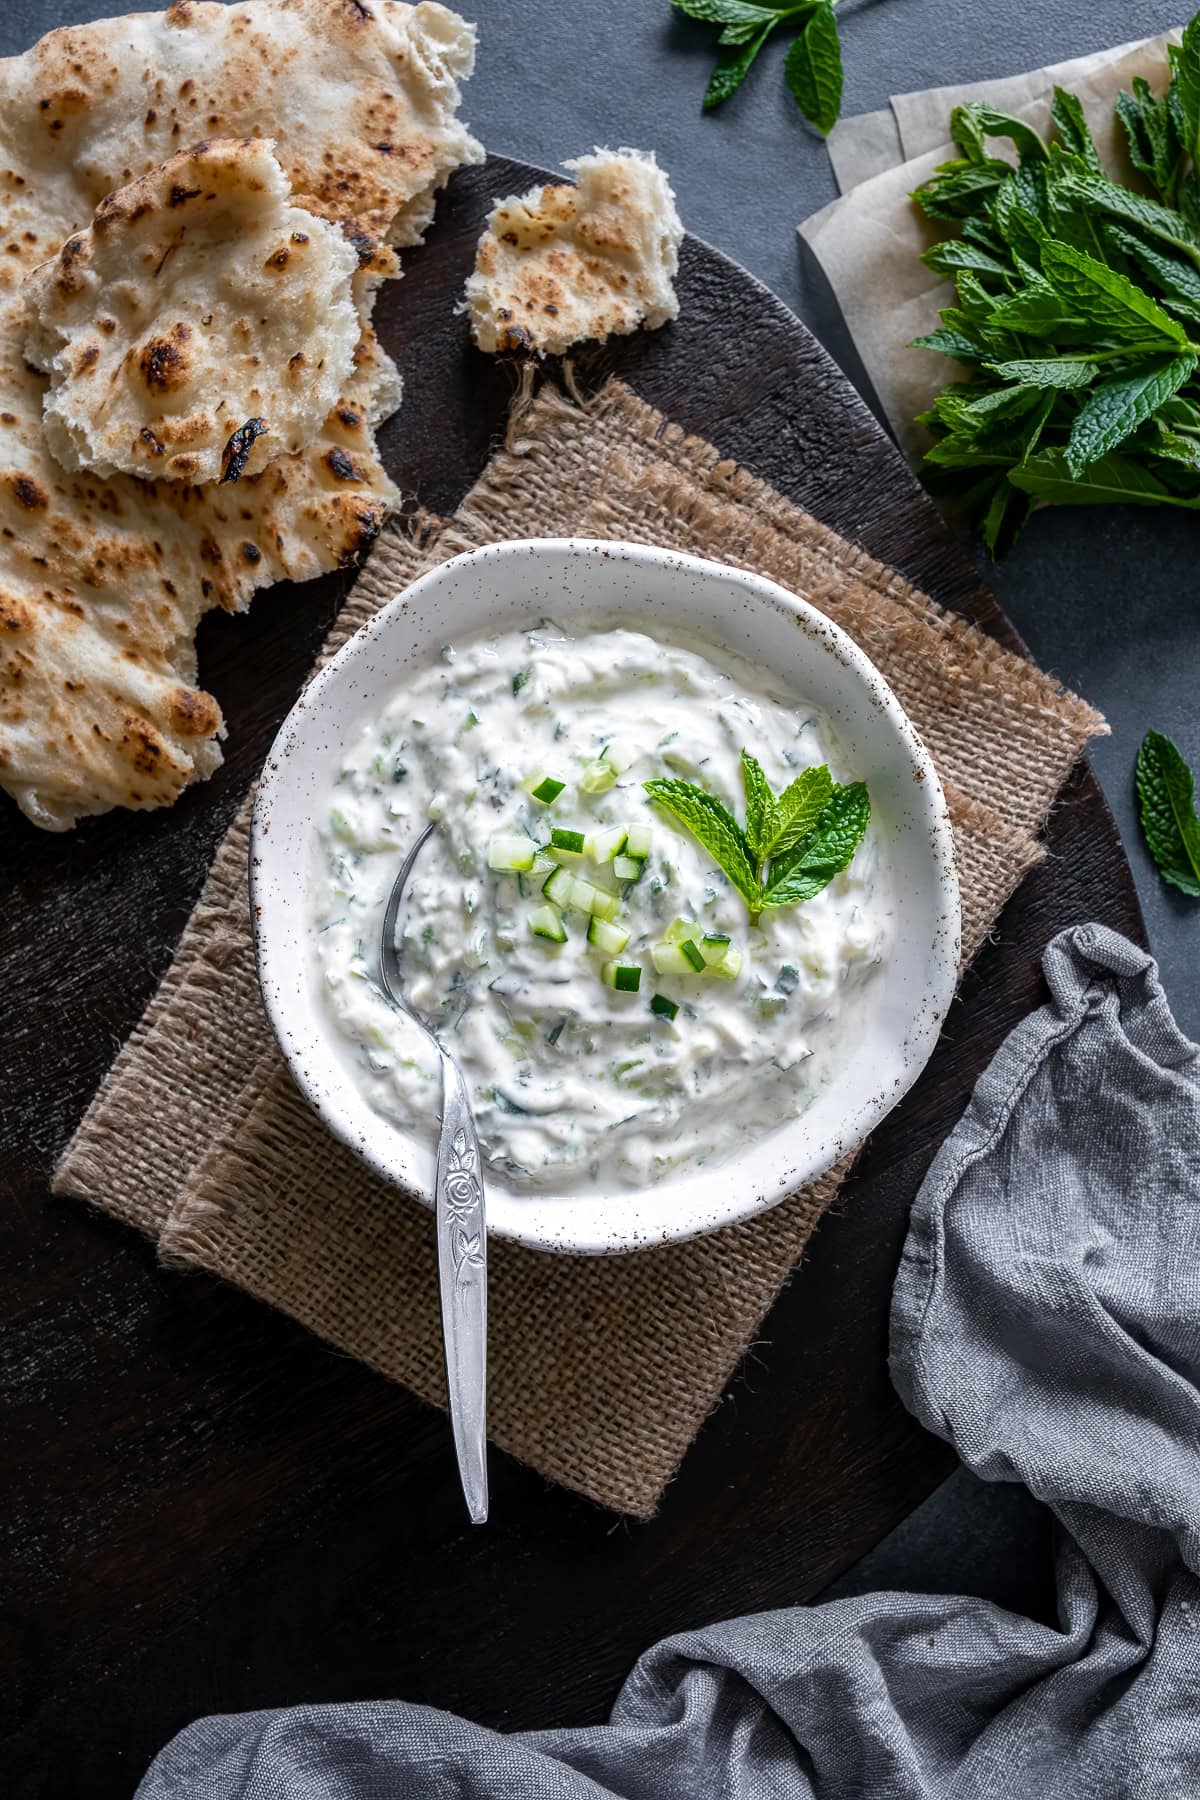
It is especially delicious with poppadoms, onion bhajis and Chicken Tikka Kebabs – but it also tastes great with any of your favourite curries.
For example:
It also goes well with Greek food, as an alternative to Tzatziki.

Chicken Tikka Kebabs
What to do with leftover raita
Put any leftover raita in a lidded container and refrigerate. Leftover raita will keep for up to 3 days in the fridge.
Can you freeze raita?
No, raita does not freeze well.
If you try to freeze raita, the yogurt will likely separate and turn watery, while the cucumber will lose its crispness and go mushy.
If you like this recipe…
…you might also like:
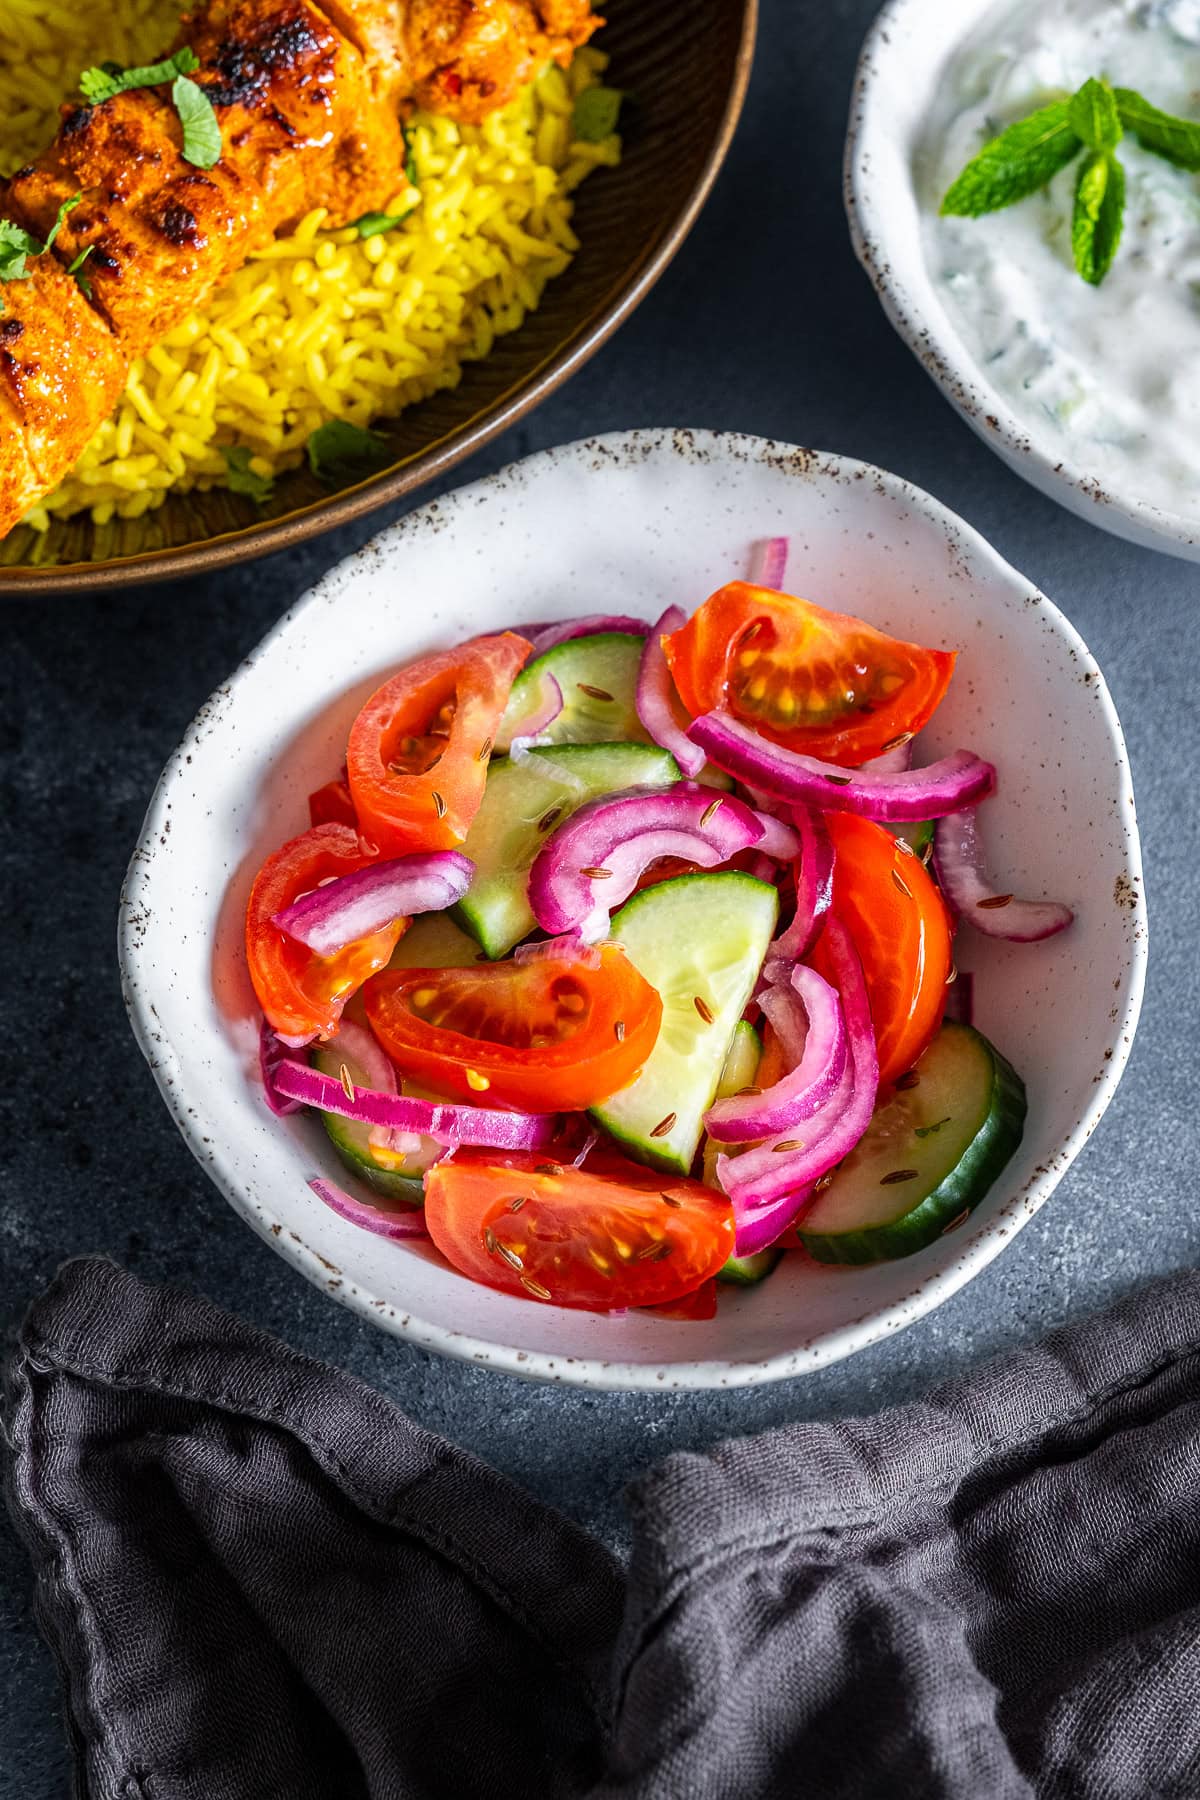
Kachumber Salad
Cucumber Mint Raita
Ingredients
- ½ cucumber (roughly 150g/5oz – See Note 1)
- 250 g Greek yogurt (I use Yeo Valley Greek Yogurt – see Note 2)
- ½ teaspoon ground cumin
- 2 tablespoons fresh mint chopped finely, plus extra for garnish
- Salt and pepper to taste
Instructions
- Start by grating the cucumber on the coarse side of your grater onto a board.
- Then, take a handful of the grated cucumber and squeeze the grated cucumber over a bowl to get rid of as much of the moisture as you can.
- Put the squeezed cucumber into a new bowl and repeat, until all the cucumber has been squeezed out and put into the new bowl.
- Add the yogurt, ground cumin and chopped mint, plus salt and pepper to taste.
- Stir everything together and then cover the raita (with clingfilm, foil or a plate) and put it into the fridge until you are ready to serve. (See Notes 3&4.)
- When you are ready to serve, give the raita a stir and garnish with more fresh mint.
Notes
- Some recipes call for the removal of both the cucumber skin and the seeds. Personally I see no need for that – it feels like extra, unnecessary effort and it also seems a little wasteful. However, if you prefer, you can of course remove the skin/seeds. In which case, you will need 150g / 5oz cucumber AFTER you’ve removed the skin and seeds.
- Strictly speaking, raita should be made with natural yogurt, but I much prefer the thicker consistency of Greek yogurt. However, feel free to use regular plain yogurt if you prefer a runnier consistency.
- The raita is ready to serve as soon as you have made it but, if you have got the time, it’s even nicer after a little while in the fridge to allow the flavours to mix and mingle.
- When I am cooking a curry, I tend to make the raita first and pop it into the fridge while I cook the rest of my dish. Not only does this mean the raita tastes nicer, but it also means I don’t have to juggle making a dip with cooking the rest of my meal.
- Not suitable for freezing.
- Nutrition information is approximate and meant as a guideline only.
Pin Cucumber Mint Raita for later
FREE 4 Week Easy Dinners Meal Plan
Have you got your hands on a copy of my meal plan yet? If not CLICK HERE to download a copy of my FREE 4 Week Easy Dinners Meal Plan today!
Paige Brooks says
This cucumber mint raita looks so fresh and refreshing! I love how just a few simple ingredients like Greek yogurt, cucumber, mint, and cumin can create such a flavorful side dish. The tip about squeezing out the cucumber really helps keep the raita nice and creamy. I’d definitely serve this alongside chicken tikka, biryani, or a spicy curry!
Eb Gargano says
Aw – yay, that is so great to hear! Thank you for such a lovely review 😀