
Want to make Greek pitta bread at home? Now you can with my Easy Homemade Pittas recipe. Fabulous results every time and less than 25 minutes hands on time!
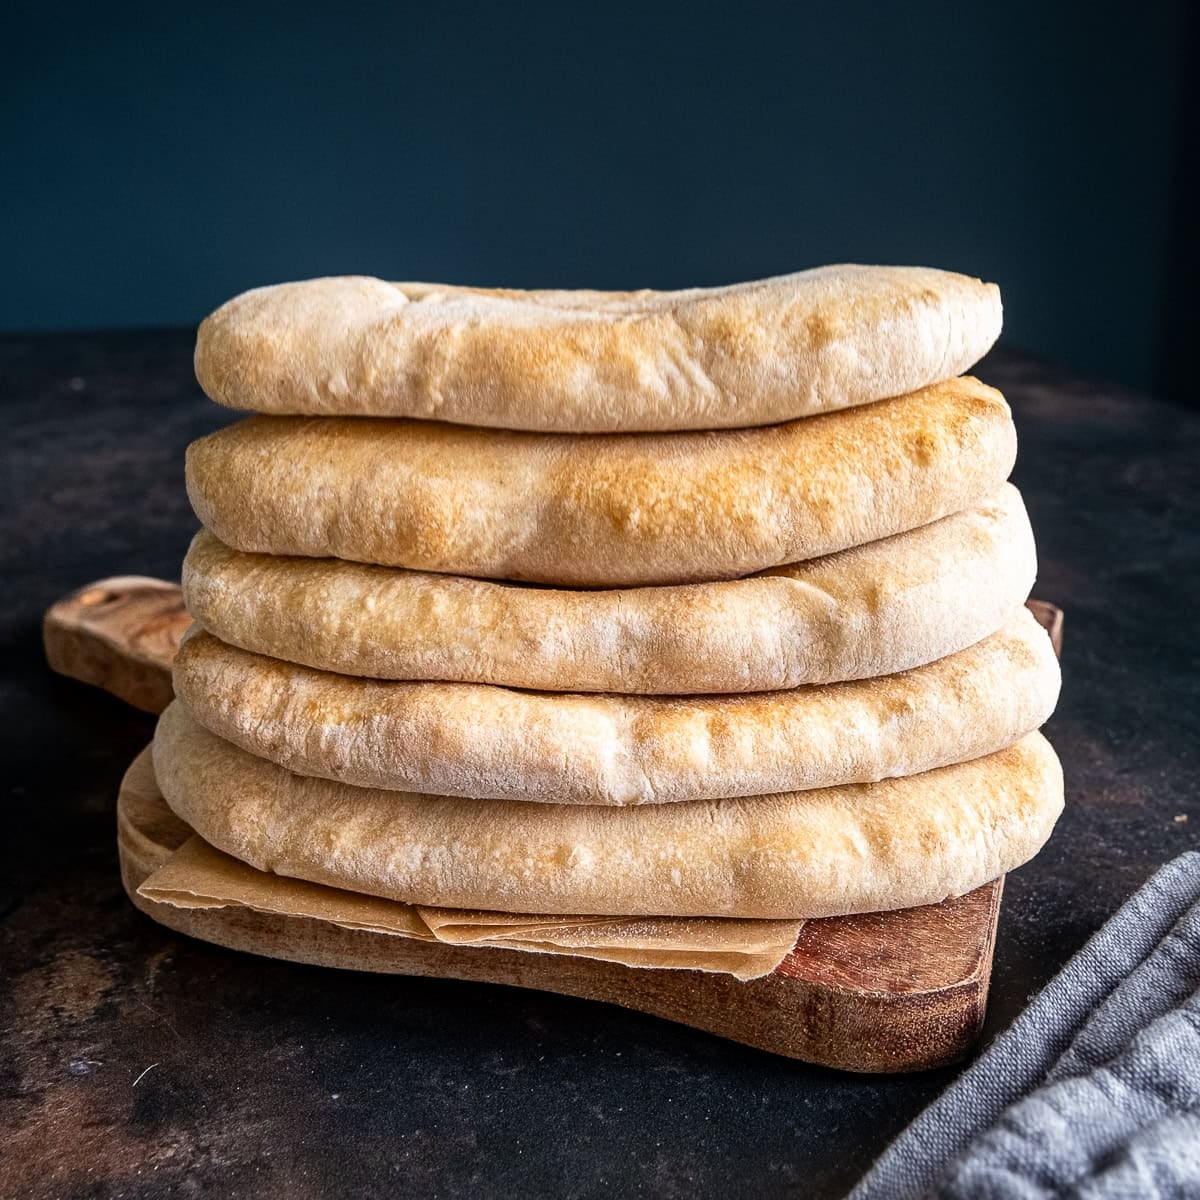
A homemade pitta recipe that actually works!
Honestly, you have no idea how much blood sweat and tears went into developing this recipe…
In the course of developing an easy and delicious homemade pitta recipe, I tried many different pitta recipes, either recipes written by Greeks or recipes written by very well respected websites… and none of them came up to my standards!
They were either too complicated, didn’t taste very nice or just flat out didn’t work.
So I basically ignored everyone else and did my own thing 😂
These pittas may not be from a traditional recipe, but they taste delicious, are very easy to make… and most importantly, they actually work!
How to make homemade pittas
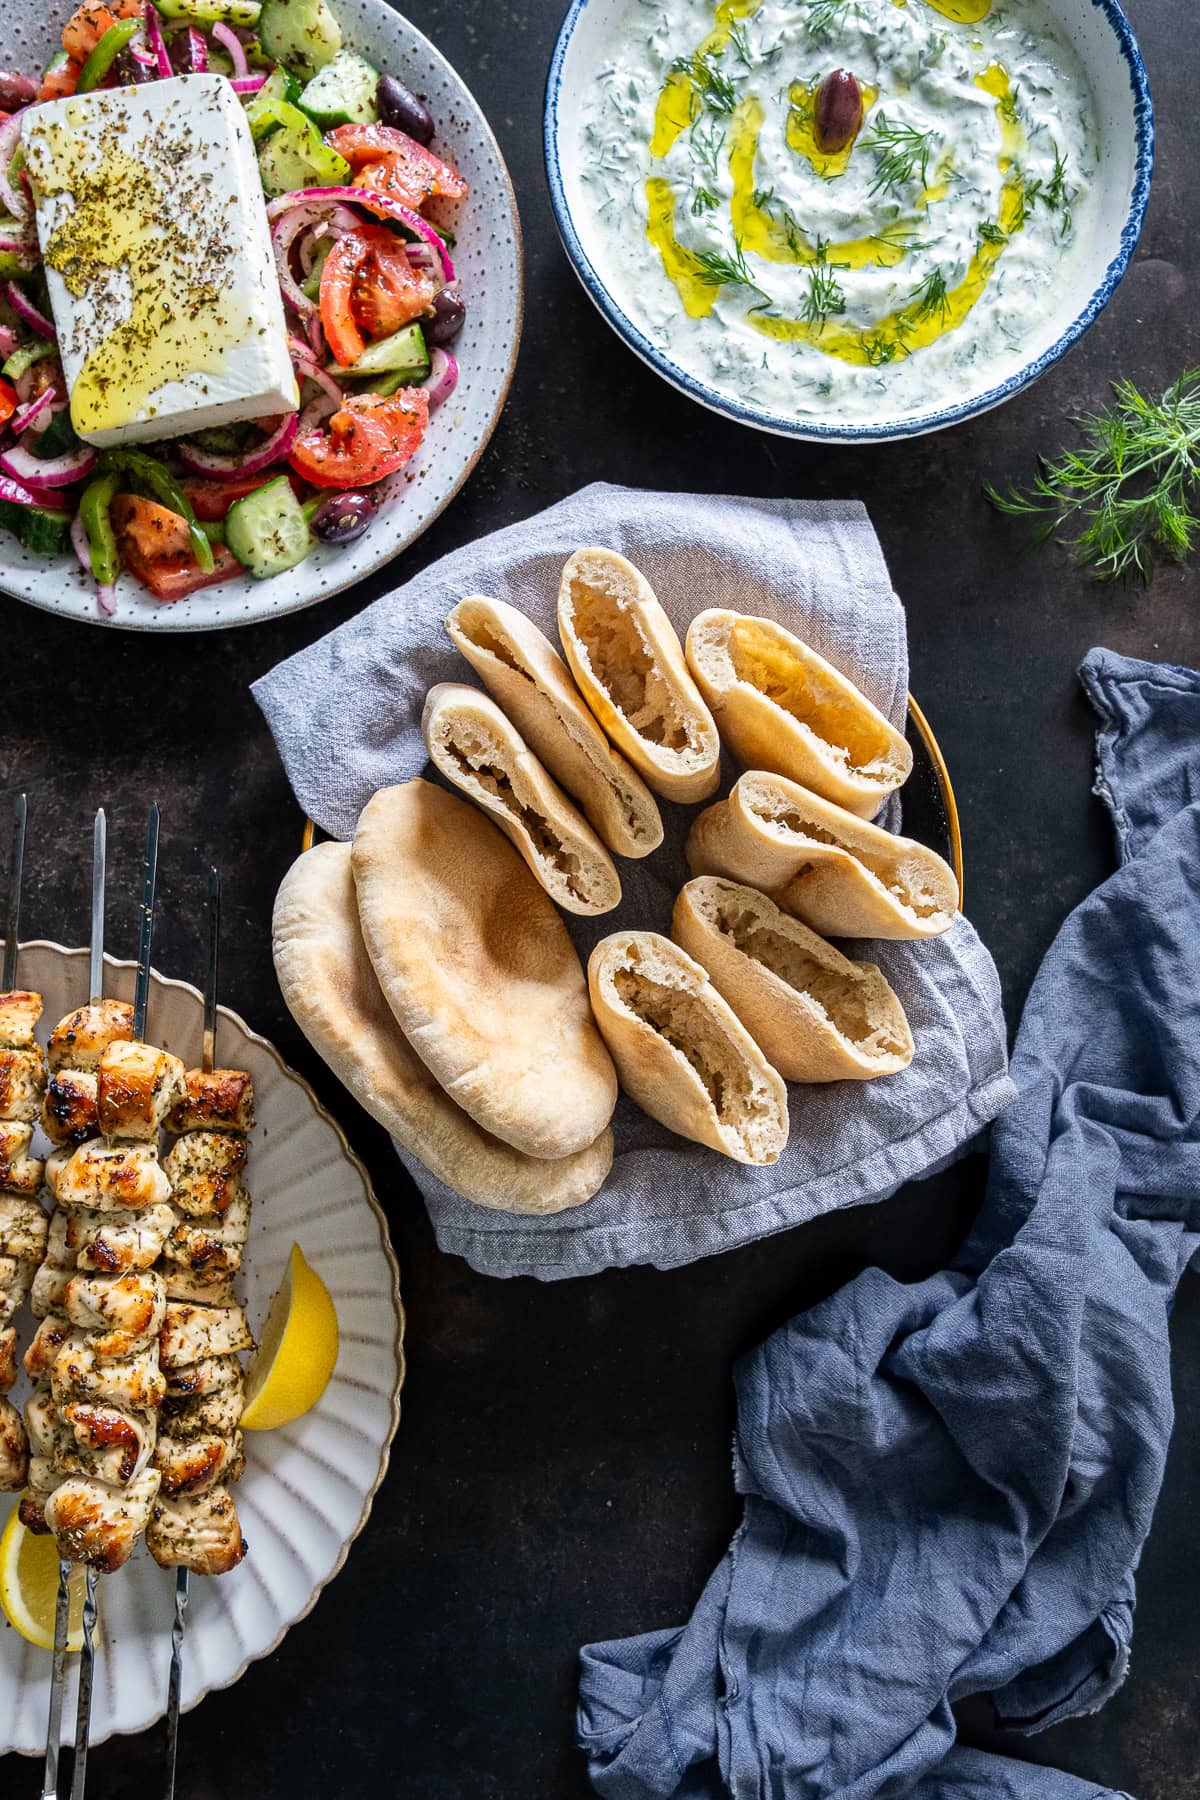
These Easy Homemade Pittas really are very simple to make – and only require 25 minutes hands on time…
All you need to do is mix all the ingredients together, then knead for 10 minutes. Place in a bowl, cover and leave to prove for 45 minutes. Then, divide the dough into 8 balls, cover and leave for a further 15 minutes.
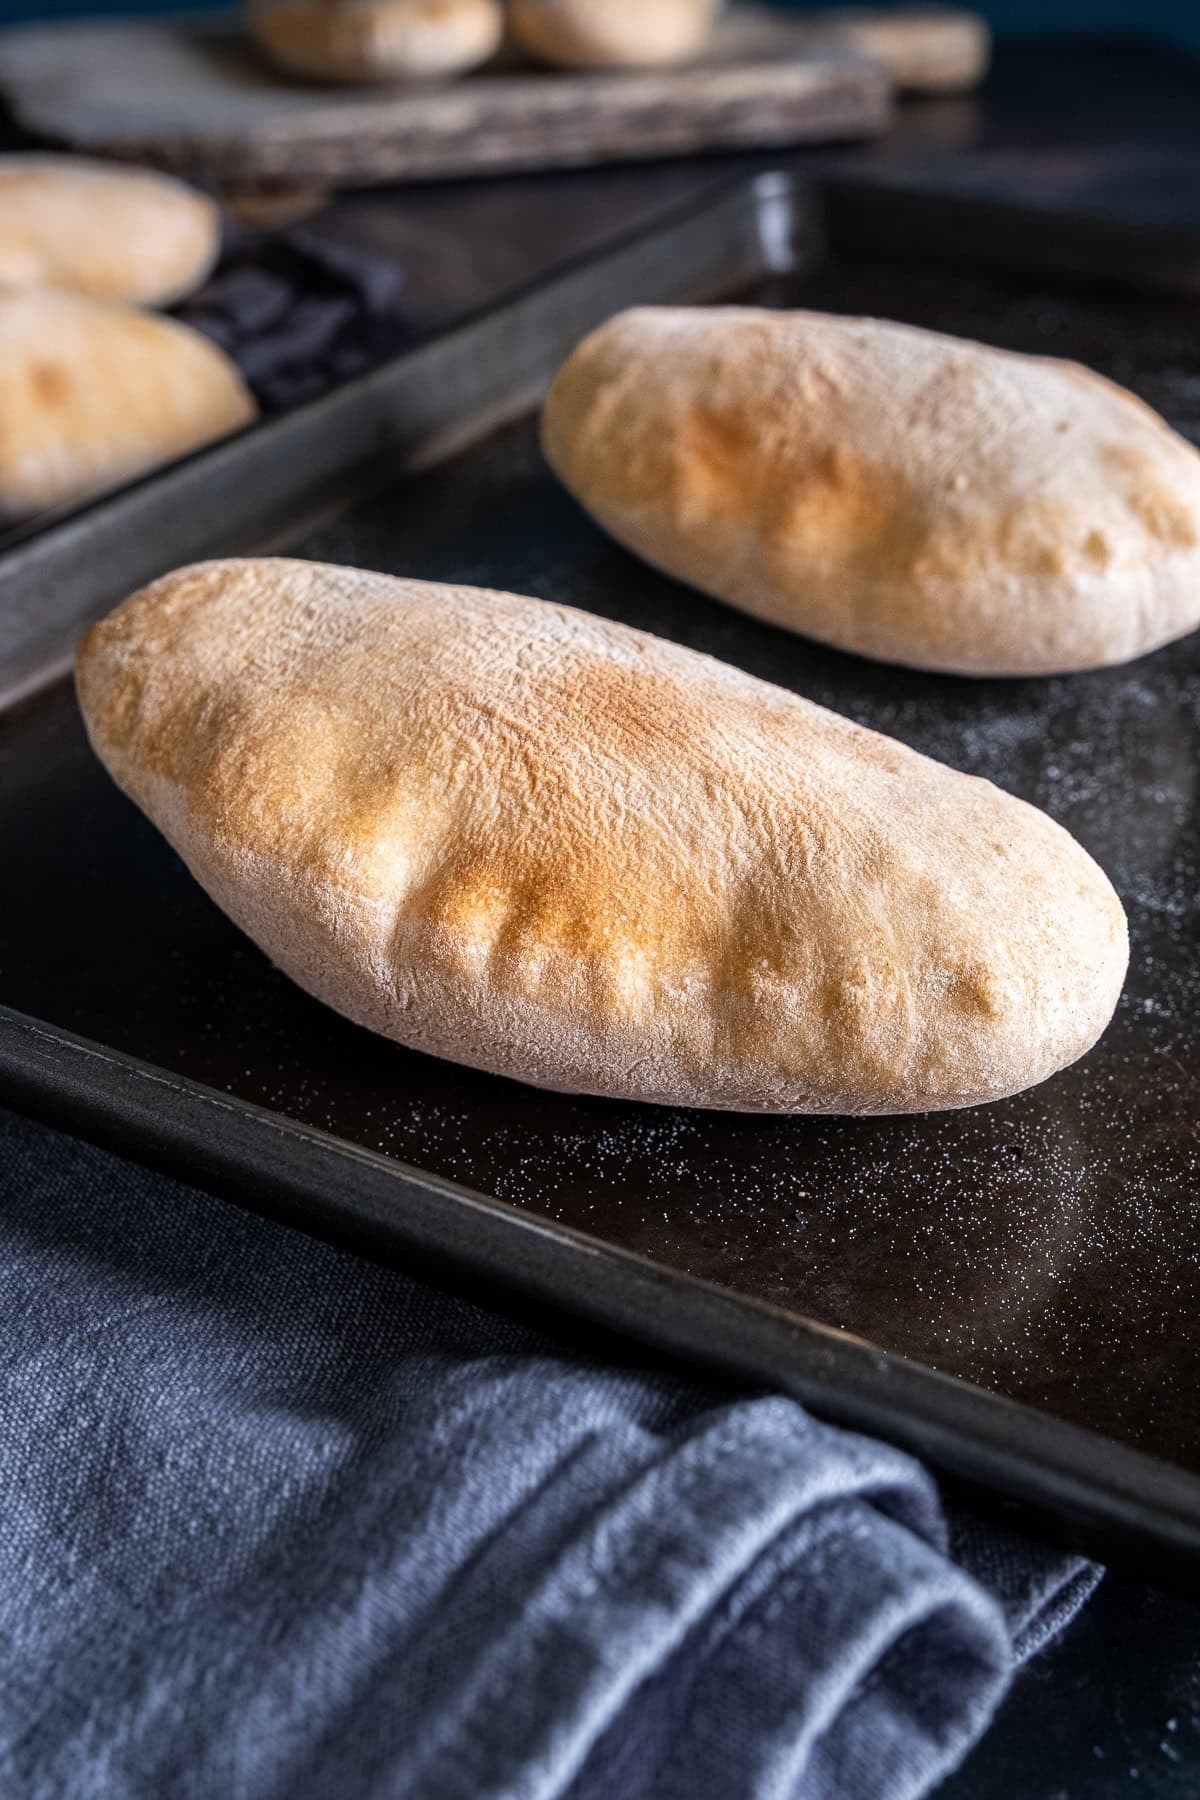
After the 15 minutes is up, roll out 4 balls into oval pitta shapes. Place these ovals onto preheated baking trays and immediately place the trays in a preheated oven. Cook the 4 pittas for 5-6 minutes, or until they are light golden brown and nicely puffed. Then, repeat this whole process with the 4 remaining pittas.
(Full recipe given in the recipe card below.)
The secret to perfect homemade pittas
There are four important keys to getting perfect homemade pittas every time.
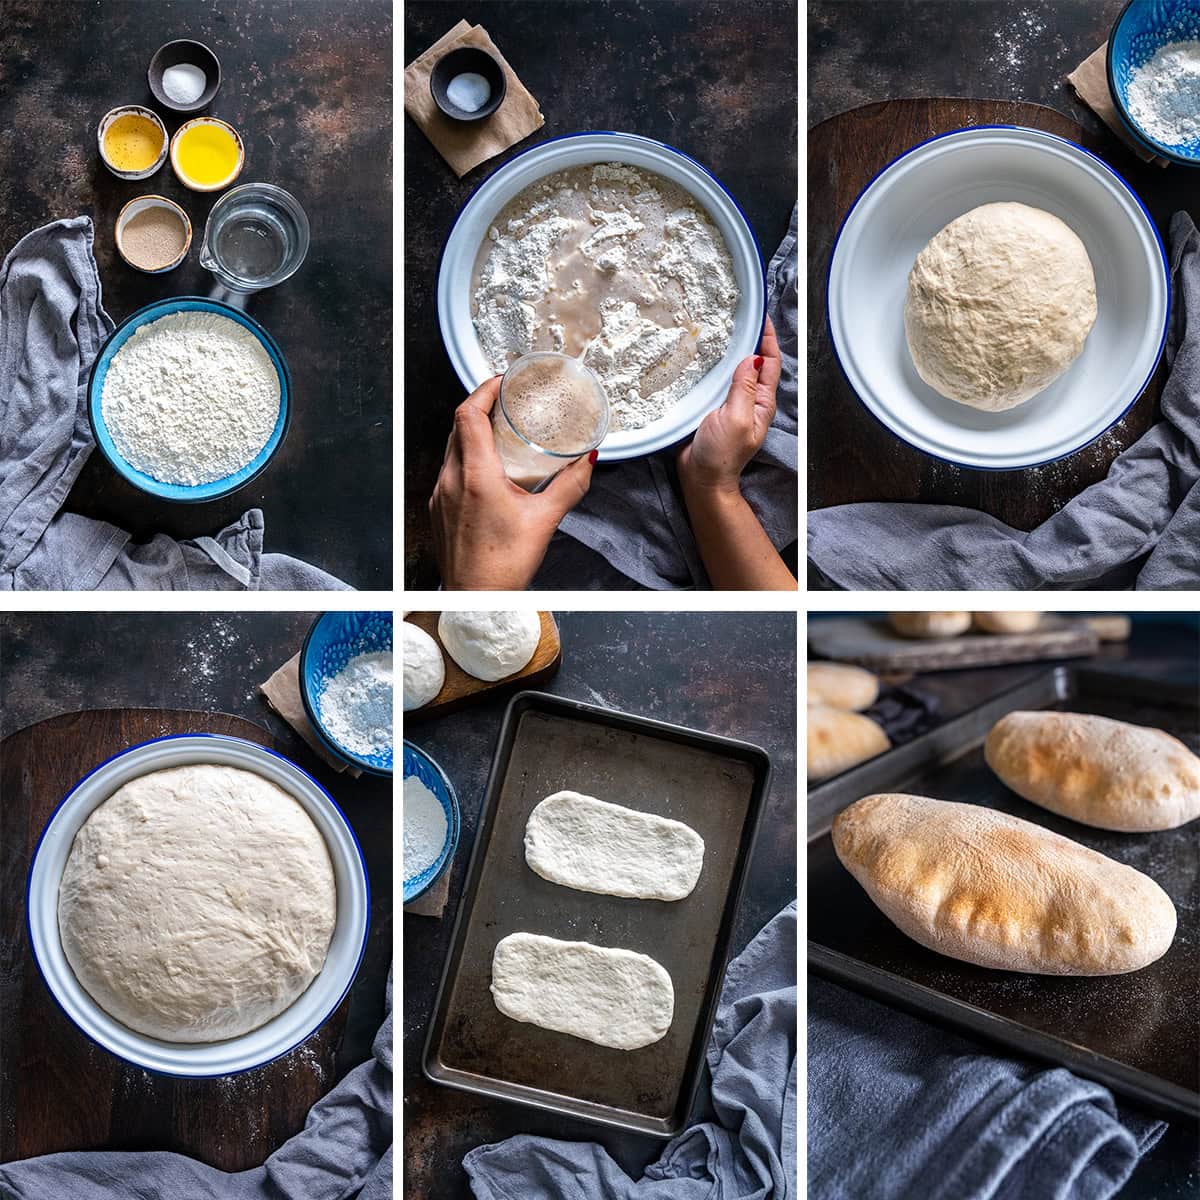
The first is to oven bake rather than pan fry – I tried both ways, multiple times and I got FAR better results from oven baking. And it was much easier. (I am sure if I was a Greek Yiayia, I could get great results frying, but I am not – and I am guessing you aren’t either!)
The second is to preheat both the oven AND the oven trays – this will help you get the perfect puff and the lovely hole in the middle. The oven also needs to be really hot: 230C for a fan oven or 250C for a conventional / non-fan oven.
The third is to immediately wrap the freshly cooked pittas in a clean, dry tea towel – this gives them a much better texture, as the trapped steam makes the outer crust softer and more pliable. It will also keep them warm for longer.
The fourth – and I know this will be controversial – is to NOT use Greek Yogurt in the recipe. I know a lot of pitta recipes use Greek yogurt, but honestly I did not get good results when using Greek yogurt… and I just didn’t like the flavour as much! (I did notice that some of the Greek recipes I tried didn’t use Greek yogurt either, so I don’t feel like a complete heathen for not using Greek yogurt in my recipe 😂)
What to serve homemade pittas with
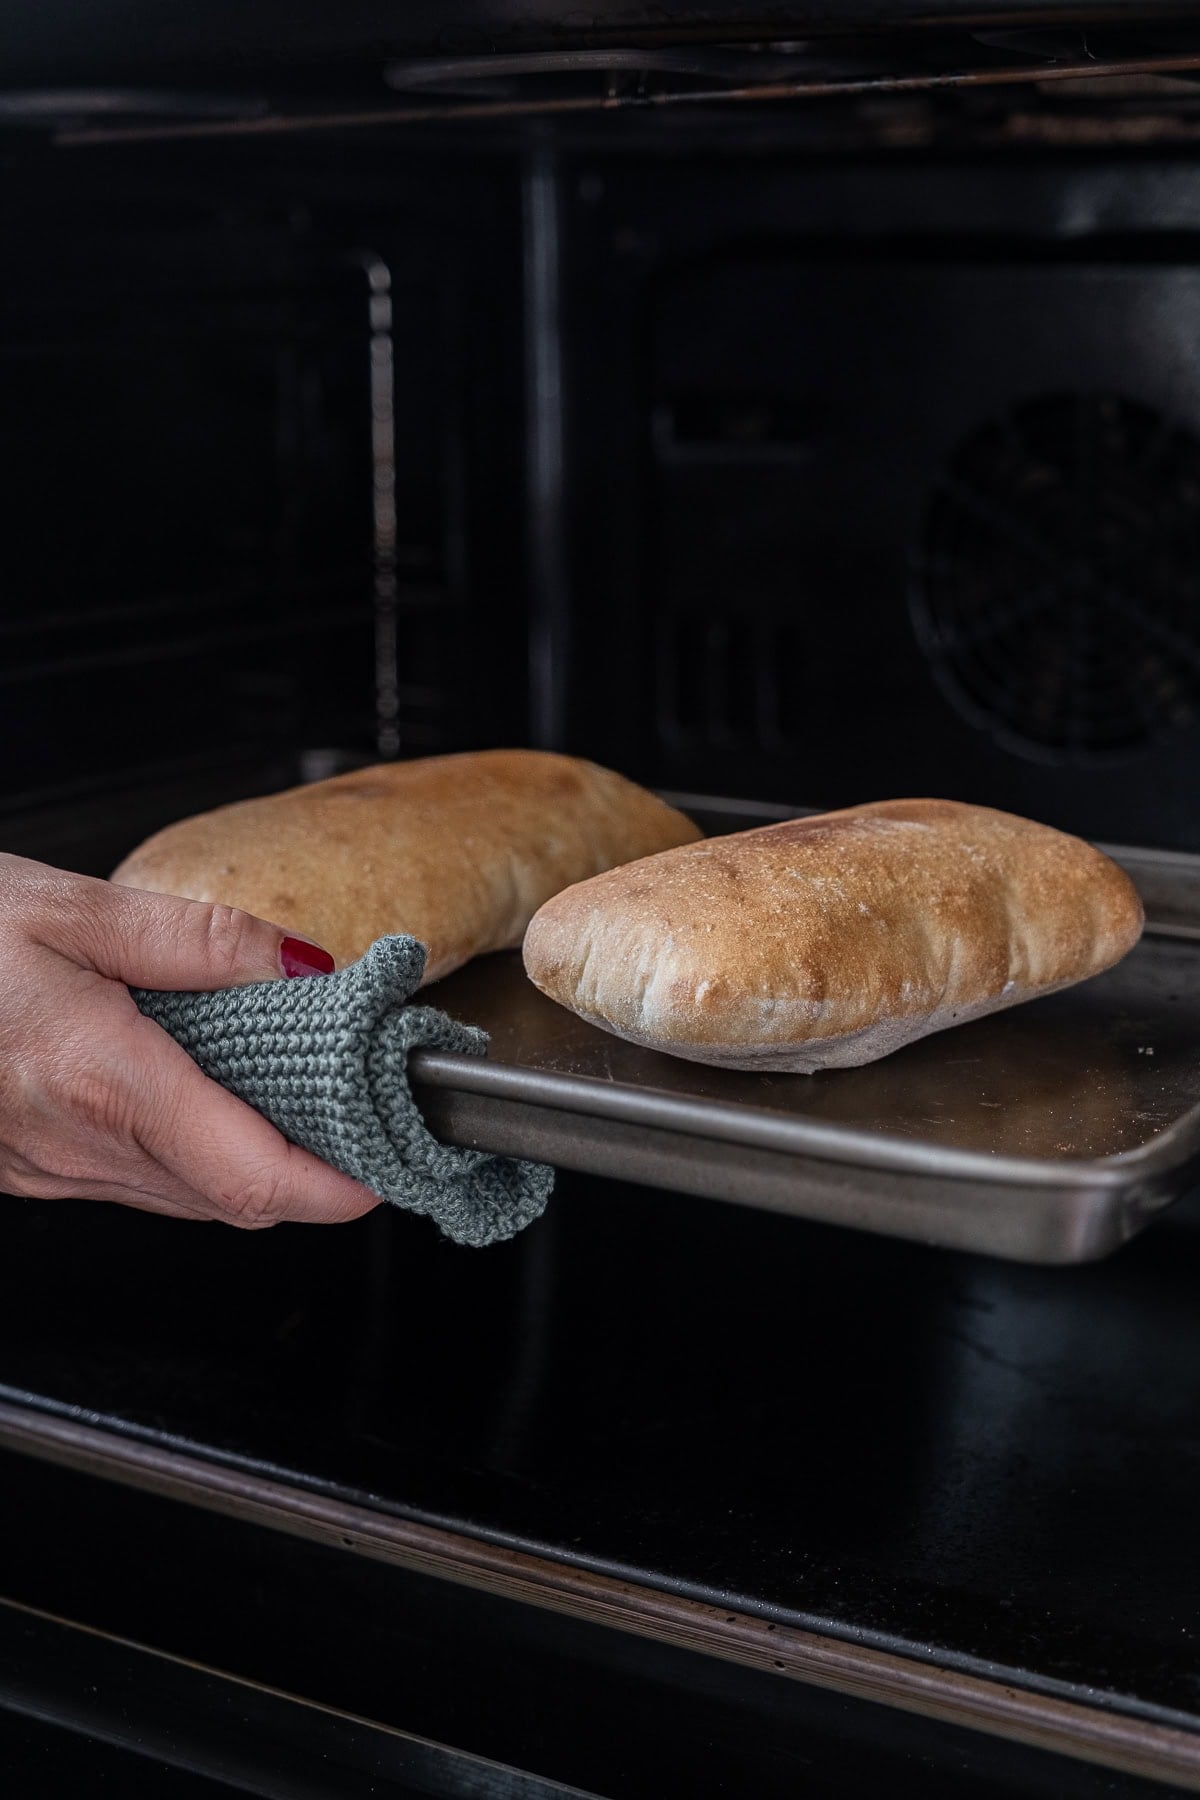
These Easy Homemade Pittas are so versatile!
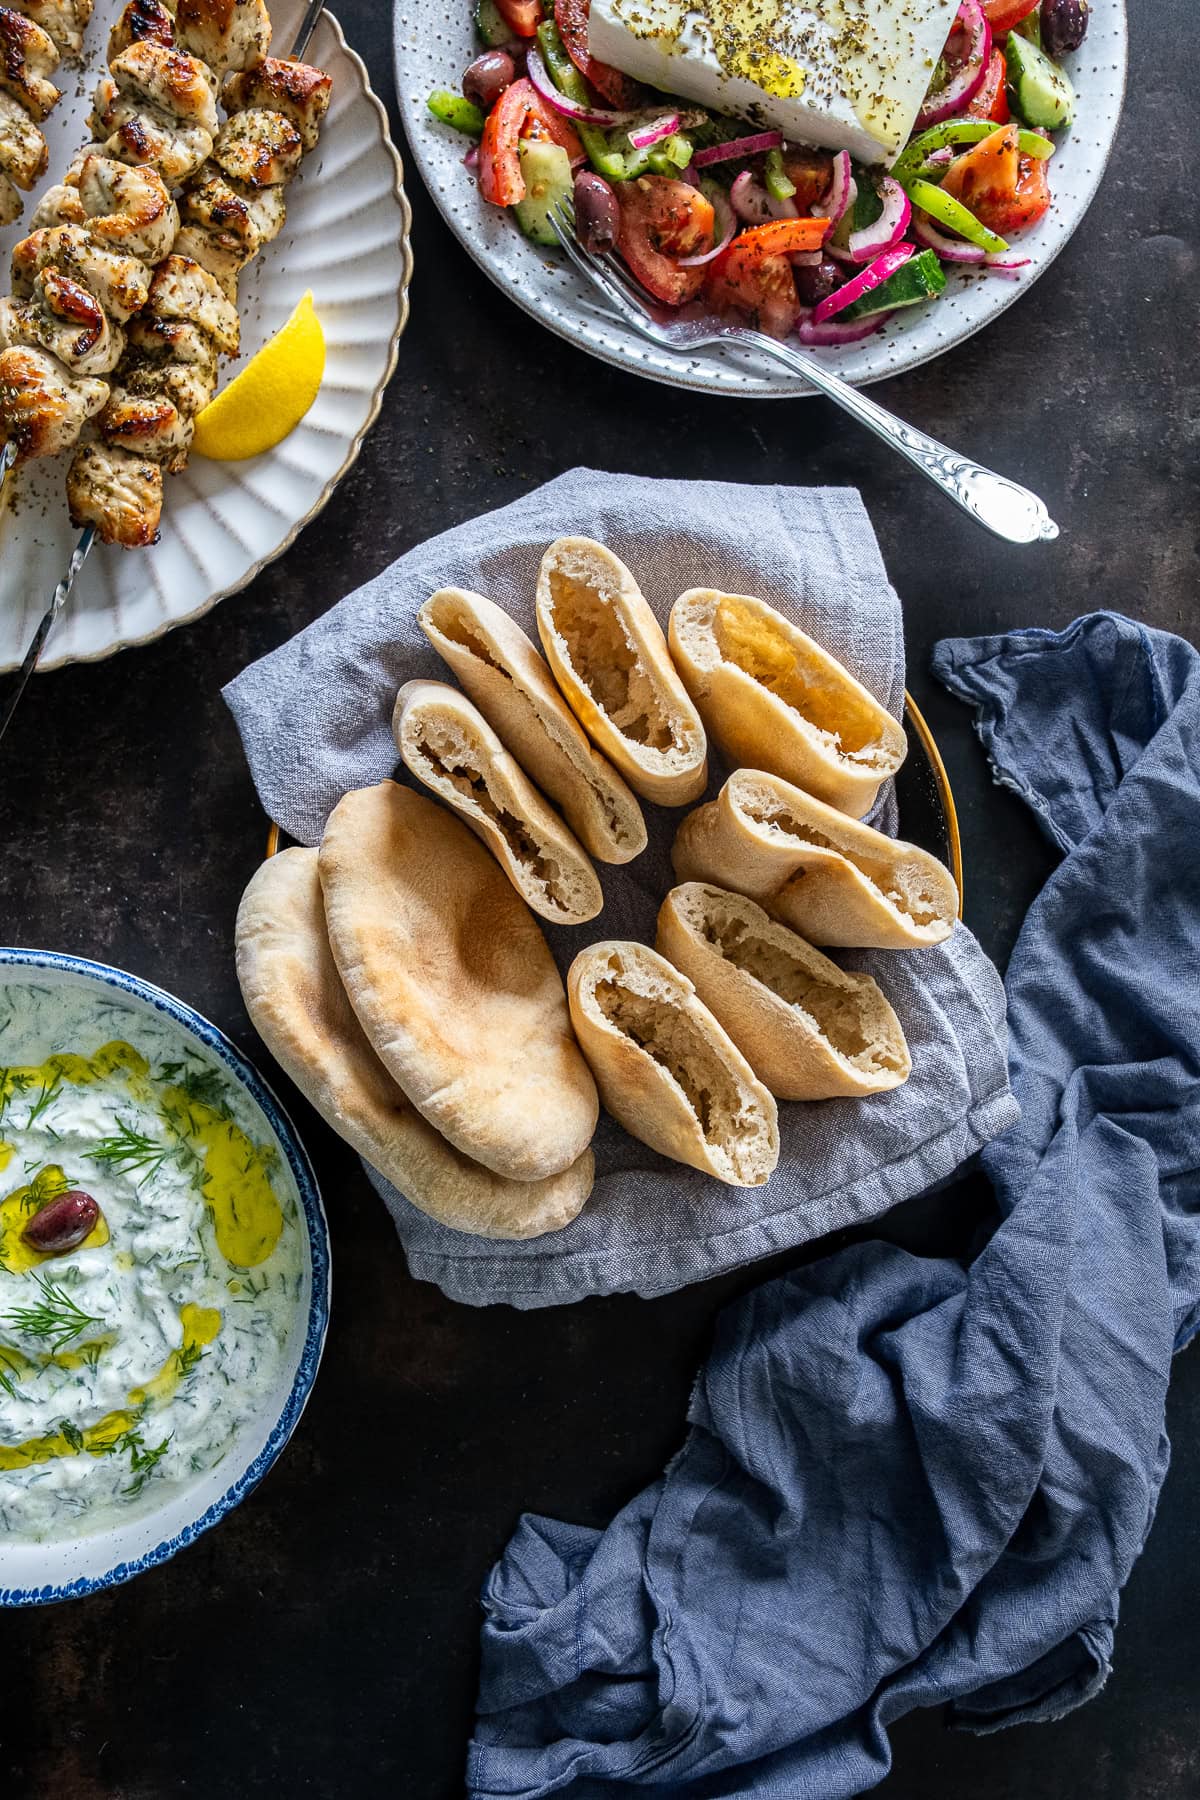
You can obviously serve them with all your favourite Greek recipes, such as:
- Easy Chicken Souvlaki
- Easy Lamb Souvlaki
- Greek Roast Chicken & Potatoes
- Easy Lamb Moussaka
- Easy Greek Salad
- Easy Peasy Tzatziki
But you can also serve them with so many other things!
Serve them with salads, serve them with schawarma, kebabs and koftes instead of flatbreads, or serve them with Peri Peri Chicken – for example, my copycat Nando’s Fino Pitta.
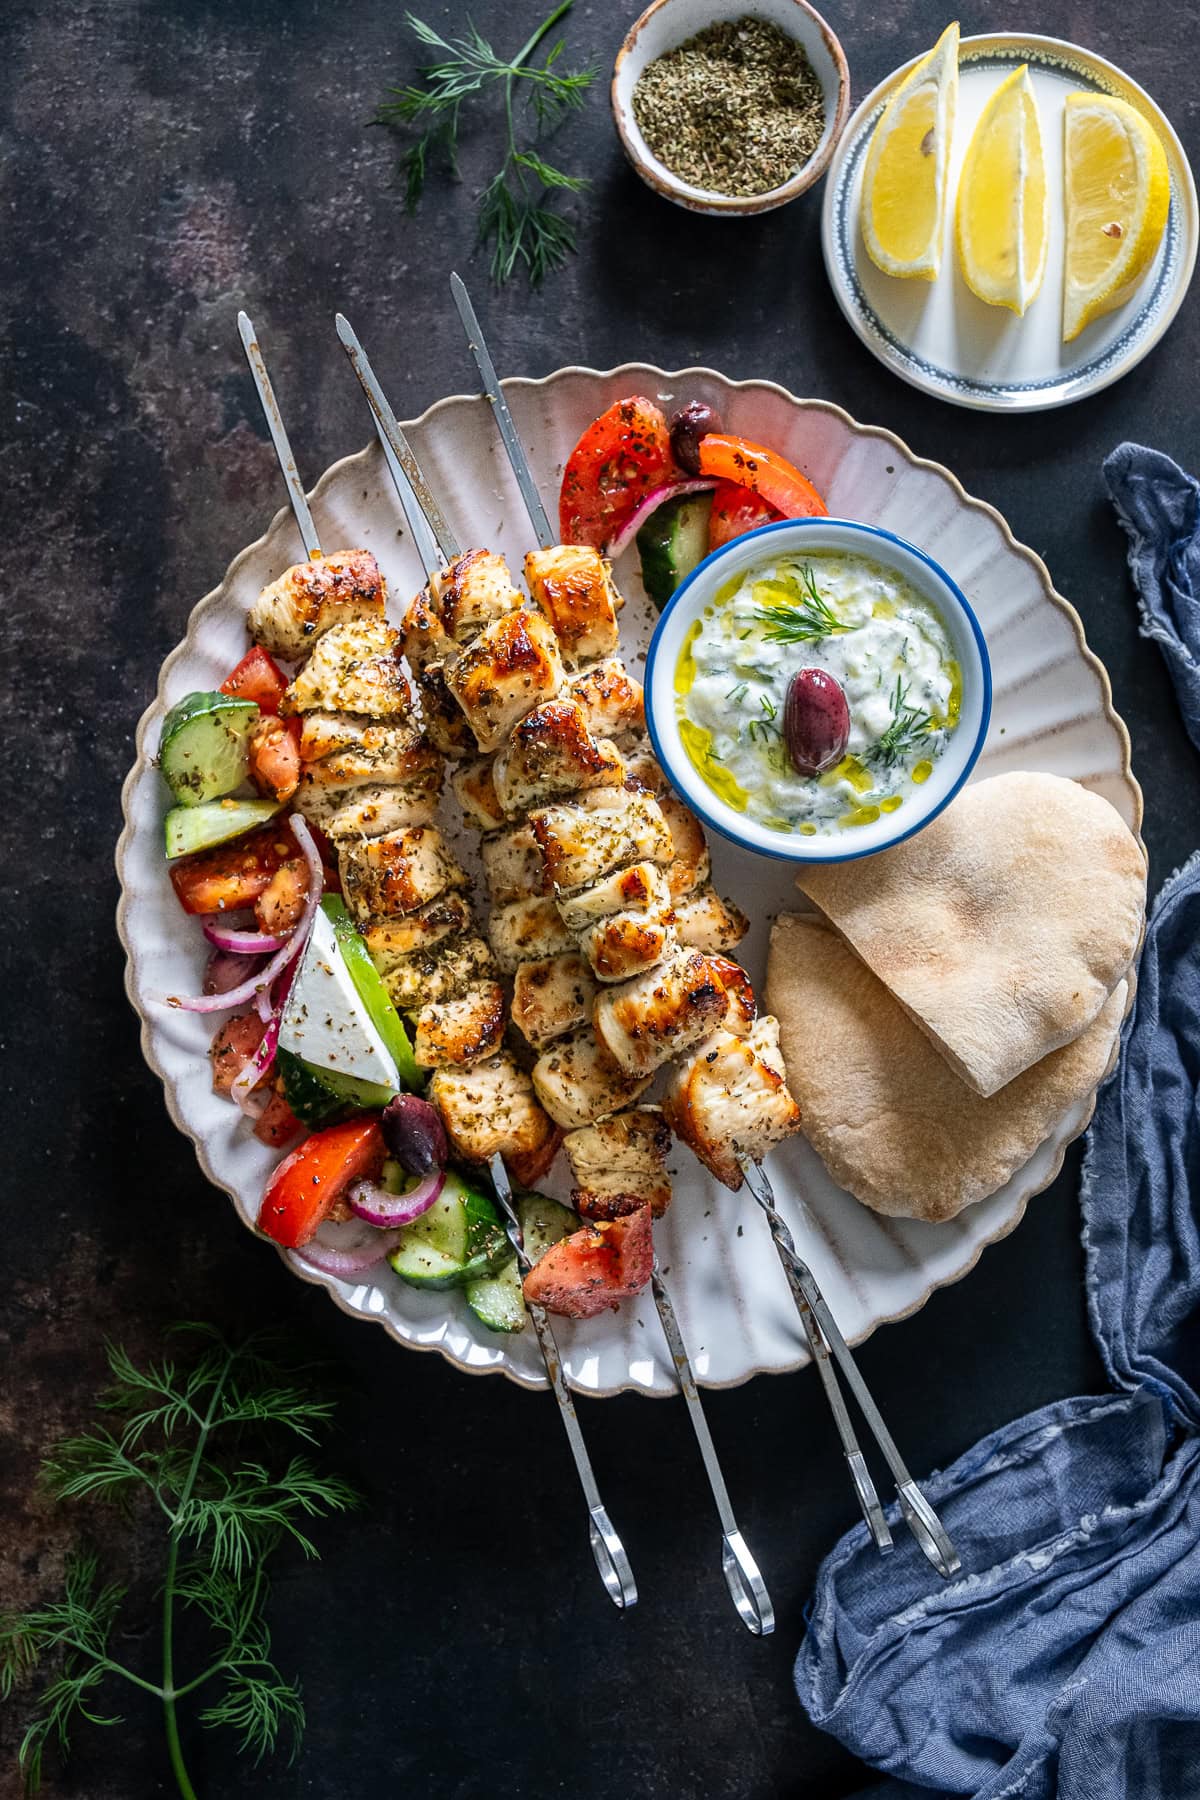
Easy Chicken Souvlaki
How long will homemade pittas keep for?
Homemade pittas will not keep for as long as shop bought pittas as they do not contain preservatives.
Typically they will only keep at their best for 1-2 days.
However, they will keep much longer if frozen. See below.
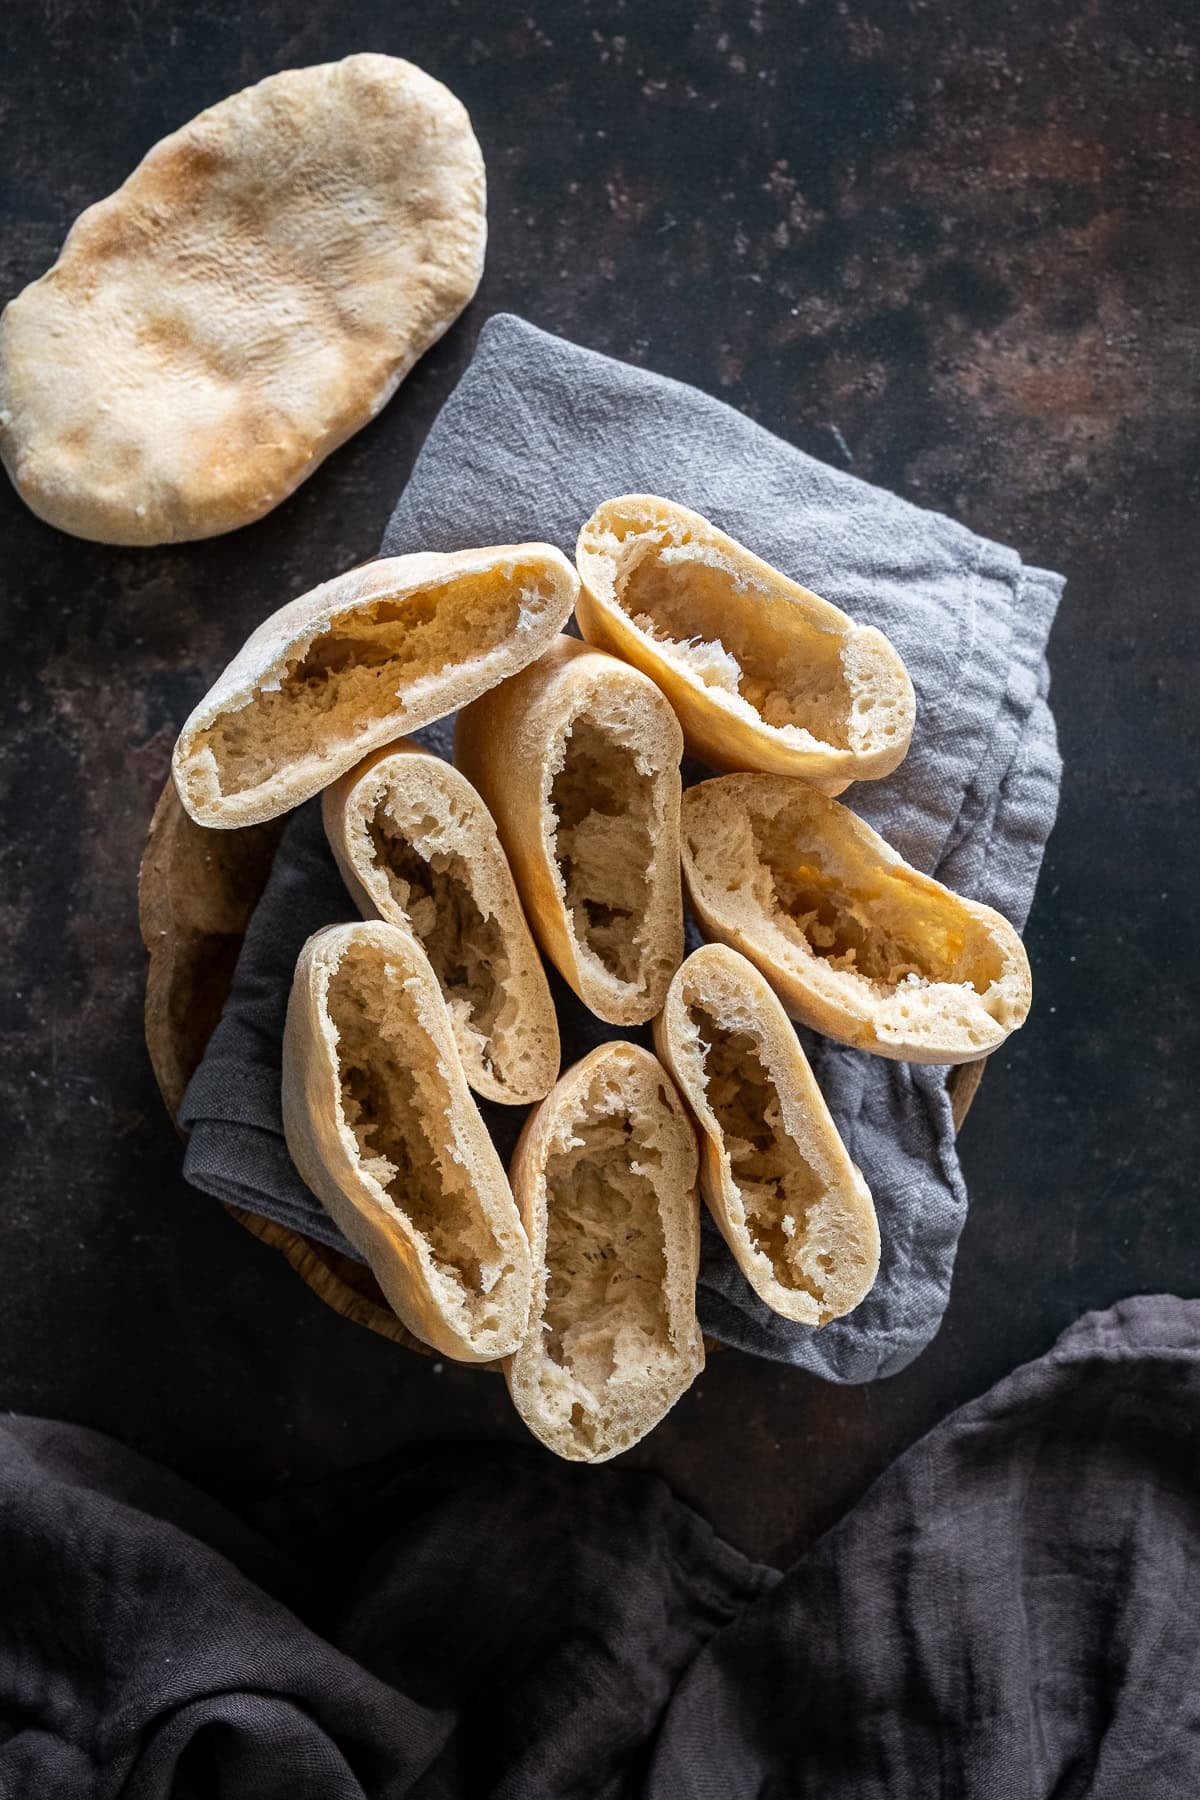
How to store homemade pittas
Store homemade pittas in an airtight container.
Homemade pittas will last 1-2 days when stored in an airtight container.
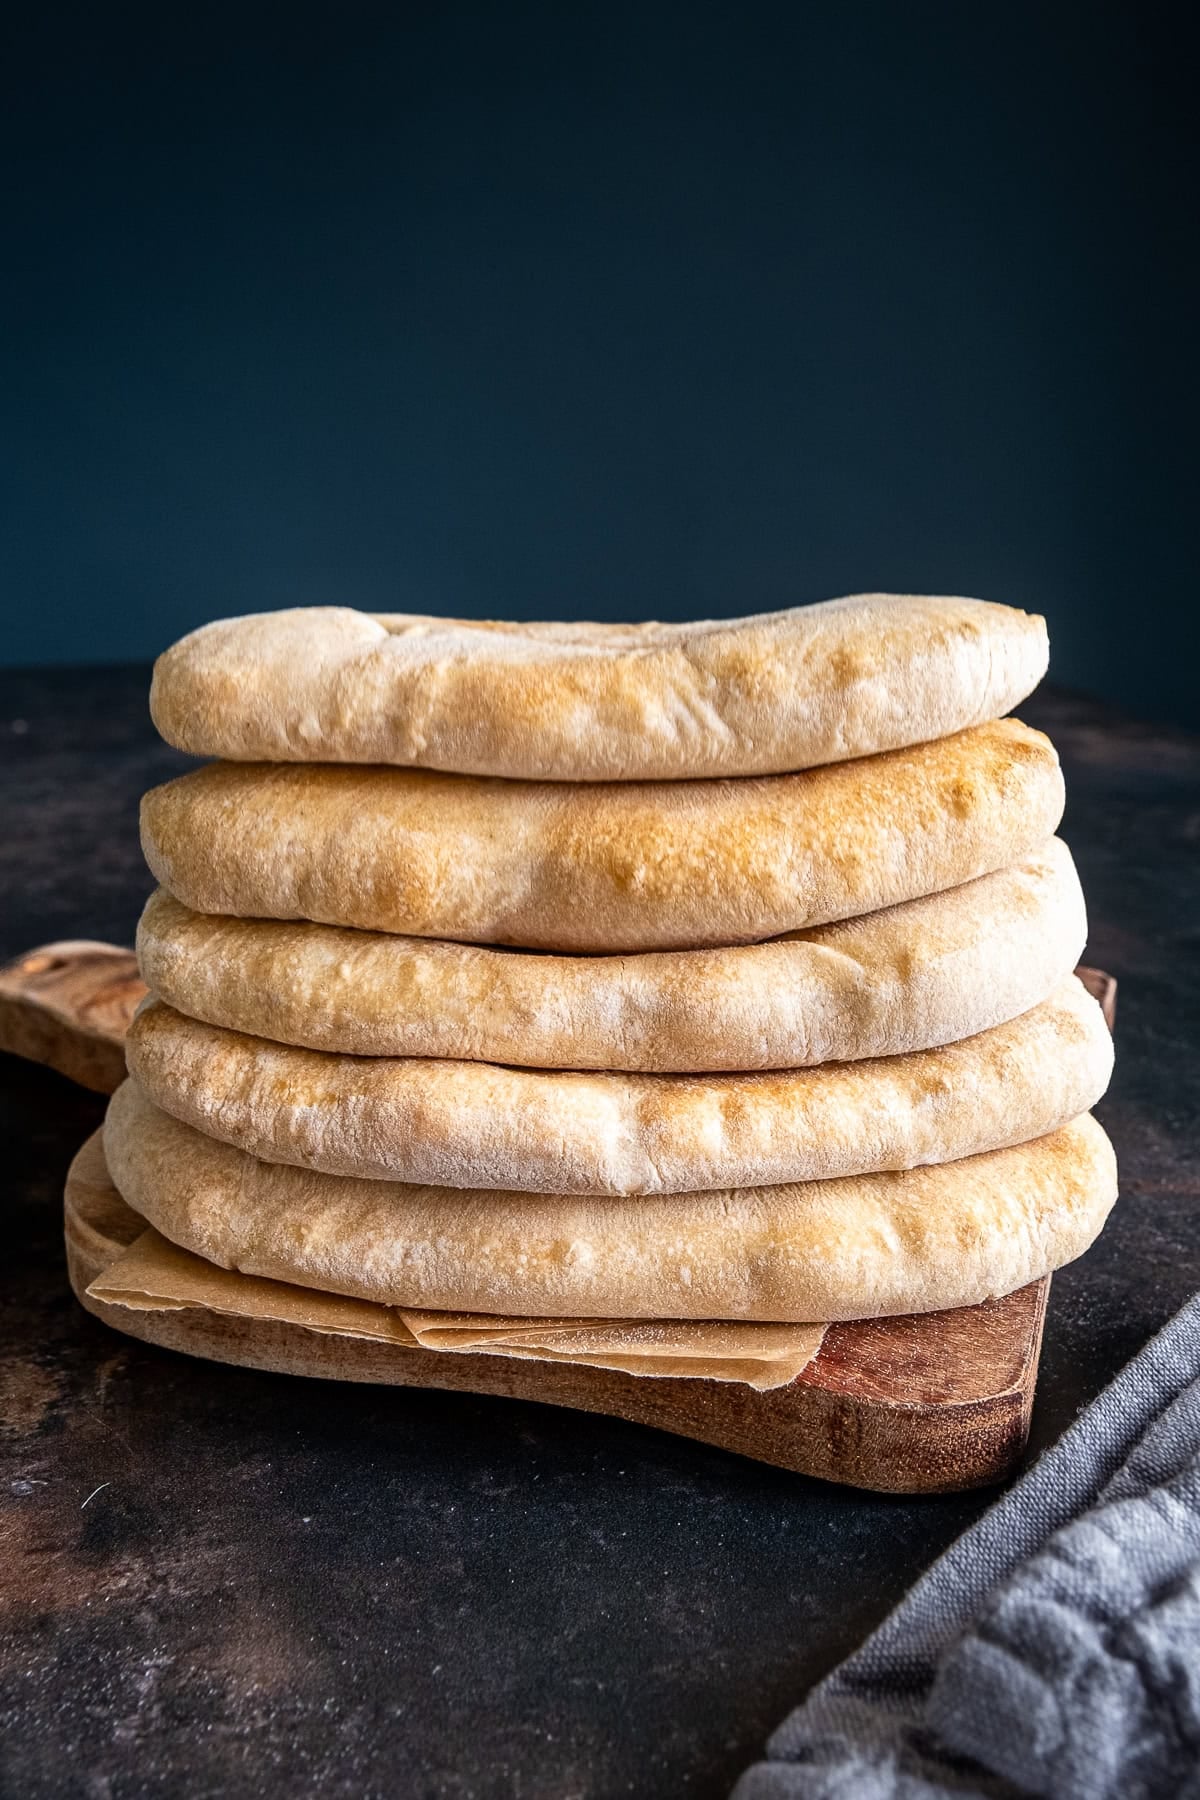
How to reheat homemade pittas
The best way to reheat homemade pittas is in the toaster.
Simply pop the pittas in the toaster, as you would a slice of bread and toast until hot and browned to your personal preference.
Can you freeze homemade pittas?
Yes you can! Homemade pittas freeze really well.
Once at room temperature, put in an airtight freezer bag or box.
Place in the freezer, where they will keep for up to 3 months.
Defrost at room temperature for a couple of hours… OR just pop them in the toaster still frozen – I do this all the time, as pittas toast beautifully from frozen.
If you like this recipe…
…you might also like:
- Easy 2 Ingredient Yogurt Flatbreads
- Easy Homemade Naan Bread
- Easy Homemade Peshwari Naan
- Super Simple Wholemeal Bread
- Guinness and Treacle Soda Bread

Guinness and Treacle Soda Bread
Easy Homemade Pittas
Ingredients
- 300 ml lukewarm water
- 7 g fast action dried yeast
- 1 tablespoon runny honey
- 500 g strong white bread flour plus extra for kneading (See Note 1)
- 1 teaspoon salt
- 2 tablespoons olive oil
Instructions
- Place the lukewarm water, yeast and honey in a jug. Whisk lightly to combine. Leave to stand for 5 minutes.
- Meanwhile, place the flour and salt in a large mixing bowl and stir well to combine.
- After the 5 minutes is up, add the olive oil to the jug and whisk lightly.
- Pour the liquid from the jug into the flour in the bowl and stir to combine.
- Tip the dough out onto a surface that is lightly dusted with flour and knead for 10 minutes. The dough will start out quite wet and sticky, but after 10 minutes it will be smooth and elastic.
- Place in a lightly greased bowl and cover loosely with lightly greased cling film, or a clean, damp tea towel. Leave to prove for 45 minutes.
- After the 45 minutes is up, divide the dough into 8 equal size balls, then cover with the same cling film / tea towel and leave for a further 15 minutes.
- Meanwhile, preheat your oven to 250C / 230C fan / gas mark9 / 475F and place two large baking trays in the oven to heat up.
- After the 15 minutes is up, roll out 4 of the balls into oval pitta shapes. Place these ovals onto the preheated baking trays – 2 ovals on each tray – and immediately place the trays back in the oven.
- Cook the 4 pittas for 5-6 minutes, or until they are light golden brown and nicely puffed.
- While the first 4 pittas are in the oven, roll out the remaining 4 pittas.
- When the first 4 pittas are ready, remove them from the oven and immediately wrap in a clean dry tea towel. (See Note 2.)
- Repeat this whole process with the 4 remaining pittas.
- Serve immediately or allow to cool, then store in an airtight container until needed.
- Toast in the toaster to re-heat, if required.
Notes
- Be sure to use strong white bread flour. This will not work as well with plain / all purpose flour.
- Wrapping freshly cooked pittas in a clean, dry tea towel gives them a better texture, as the trapped steam makes the outer crust softer and more pliable. It will also keep them warm for longer. (You can also use a tortillada, if you happen to have one!)
- Suitable for freezing.
- Nutrition information is approximate and meant as a guideline only.
Pin Easy Homemade Pittas for later
FREE 4 Week Easy Dinners Meal Plan
Have you got your hands on a copy of my meal plan yet? If not CLICK HERE to download a copy of my FREE 4 Week Easy Dinners Meal Plan today!
Leave a Reply