
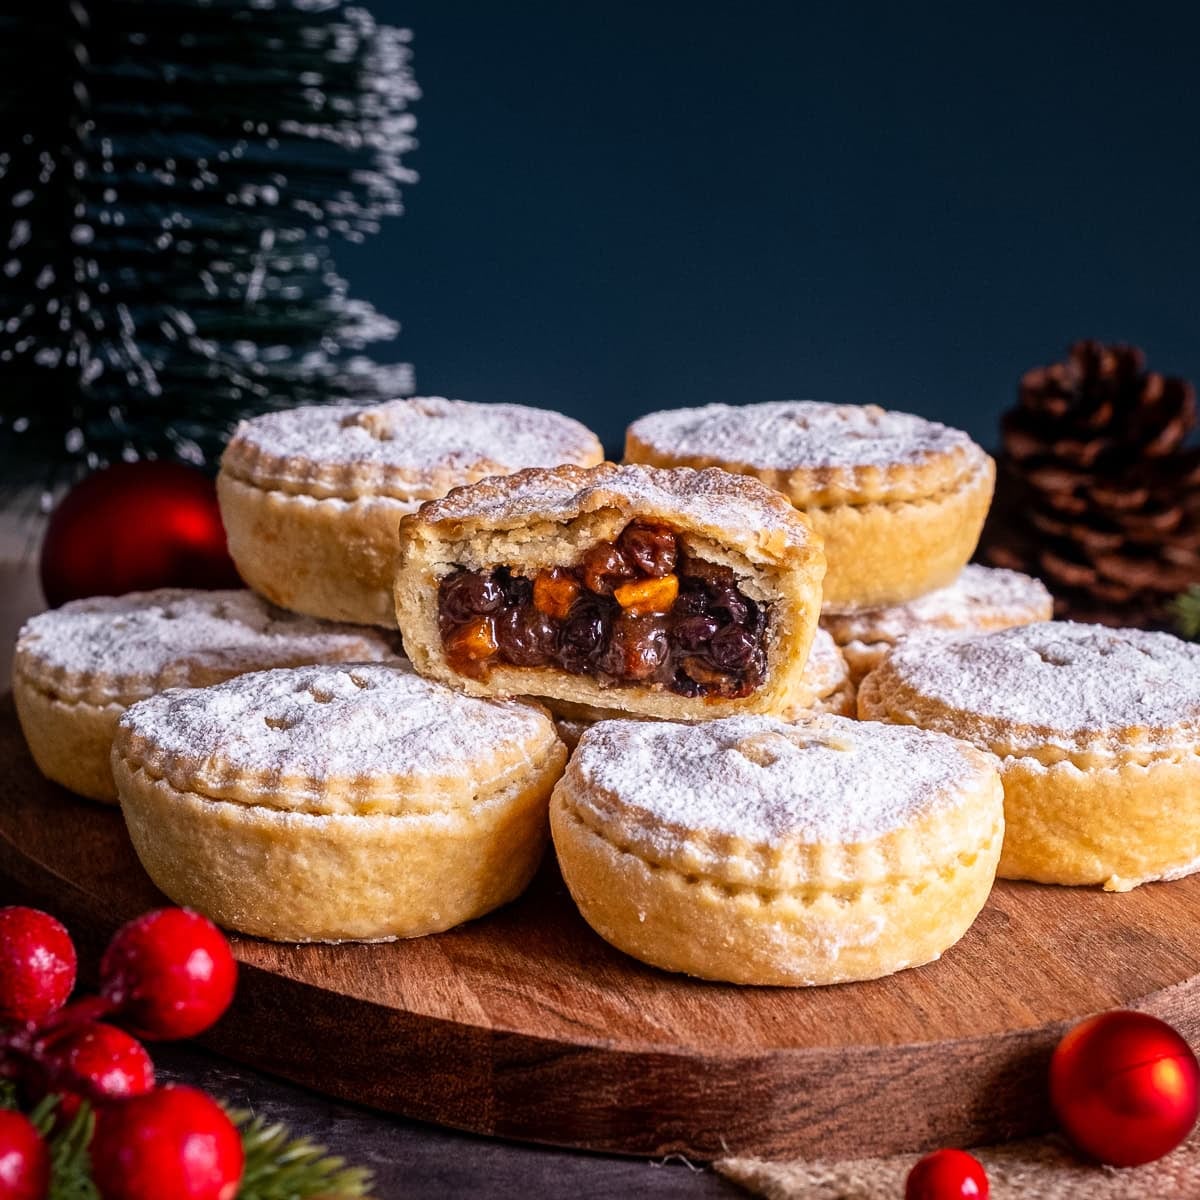
Proper old fashioned mince pies the way my mother and grandmother made them, these Traditional Mince Pies feature an unsweetened shortcrust pastry base, filled with delicious traditional mincemeat (ideally homemade!) and topped with a full pastry lid. They may be old-fashioned, but in the best possible way – a tried and true classic!
This blog post contains affiliate links. This means if you click on a link and go on to buy the product I recommend, I will get a small commission, but you will not be charged a penny more – thanks in advance!
Old-fashioned mince pies are the best!
Sometimes the classics are the best, and that’s definitely the case with mince pies. These Traditional Mince Pies have stood the test of time and are still hands down one of my favourite mince pie recipes – even though I have made many different mince pie recipes over the years!
This Traditional British Mince Pie recipe is more-or-less the exact same one as my mum and grandma made…
It features a classic shortcrust pastry – made simply with flour, salted butter and cold water. (No sugar, eggs or other pastry additions!)
The shortcrust pastry base is filled with my Traditional Homemade Mincemeat. (You can totally cheat and use shop-bought if you want, but I promise you homemade is better – and thanks to one little clever trick, my Homemade Mincemeat recipe can be made in just 45 minutes, yet it tastes just like old fashioned mincemeat!)
Finally the mince pies are topped with a full pastry lid, with 3 little snips, baked in the oven, then dusted with sugar while they are still warm out of the oven.
Truth be told, I have made one tiny tweak to my family recipe – I use butter, but my mum and grandma used margarine. Personally I much prefer mince pies made with all-butter shortcrust pastry, but if you want the true old-fashioned version, just use margarine instead of the butter.
(Full recipe given in the recipe card below.)
Should you use savoury or sweet pastry for mince pies?
As I mentioned above, I make these mince pies with a very simple, classic savoury pastry which only has three ingredients: flour, salted butter and water. I grew up with mince pies made with savoury pastry, and personally I much prefer it.
I love the rich buttery, flaky, melt in the mouth texture that you get – so much better than the stodgy over-sweet pastry you get on shop bought ones.
Personally, I think mincemeat has enough sweetness not to need extra sugar in the pastry. And actually the savoury pastry balances out the sweetness of the mincemeat beautifully.
But if you have a sweeter tooth than me, try adding 100g of sugar to the pastry mixture just after you have rubbed the butter and flour together.

Pastry made the old fashioned way
I always make my shortcrust pastry the old-fashioned way, by rubbing the butter into the flour by hand. It’s really very easy and I actually enjoy doing it – it makes it feel “proper” somehow.
I’ve been doing it that way since I was a little girl, and it’s the way I taught my kids to do it when they were very small (even before they went to school!)
But you can of course make the pastry in a food processor, if you prefer. Just pop the flour and the cubed butter in your processor and pulse until it resembles breadcrumbs, then add the water drop by drop and pulse until it starts to come together, then take the pastry out of the processor and roll it into a ball by hand.
Either way, It is essential for this recipe that the pastry is that it’s rolled out thinly – so thin you can almost see through it!

A favourite Christmas tradition
I really love Christmas traditions and one of my favourites is in December when we decorate our tree. One child gets the tree set up with Daddy, while the other child makes mince pies with me.
Then we all get involved with decorating the tree and eating the mince pies. For me it is the moment that really signals the start of Christmas.

What to serve with mince pies
Of course, mince pies are delicious on their own as a snack, but if you want to turn them into more of a pudding there are lots of delicious options:
- Custard
- Cream (any kind, but my favourite is the extra thick double cream)
- Brandy butter
- Brandy cream
- Ice cream

What to drink with mince pies
These delicious Crumble Topped Mince Pies go really well with Cream Sherry or Tawny Port. My top picks are Lustau East India Solera Reserva Sherry and Taylors Port 10 Year Old Tawny Port.
Another great option is a rich and fruity dessert wine, such as Muscat/Moscatel, Passito di Pantelleria or Tokaji.
They are also wonderful with mulled wine.
And, of course, they also go wonderfully well with a simple cup of tea or coffee!

Love mince pies?
…you might also like:
- Star-Topped Mince Pies
- Frangipane Topped Mince Pies
- Crumble Topped Mince Pies
- Puff Pastry Mince Pies (Only 3 ingredients!)
- Iced Mince Pies

Crumble Topped Mince Pies
How to store mince pies
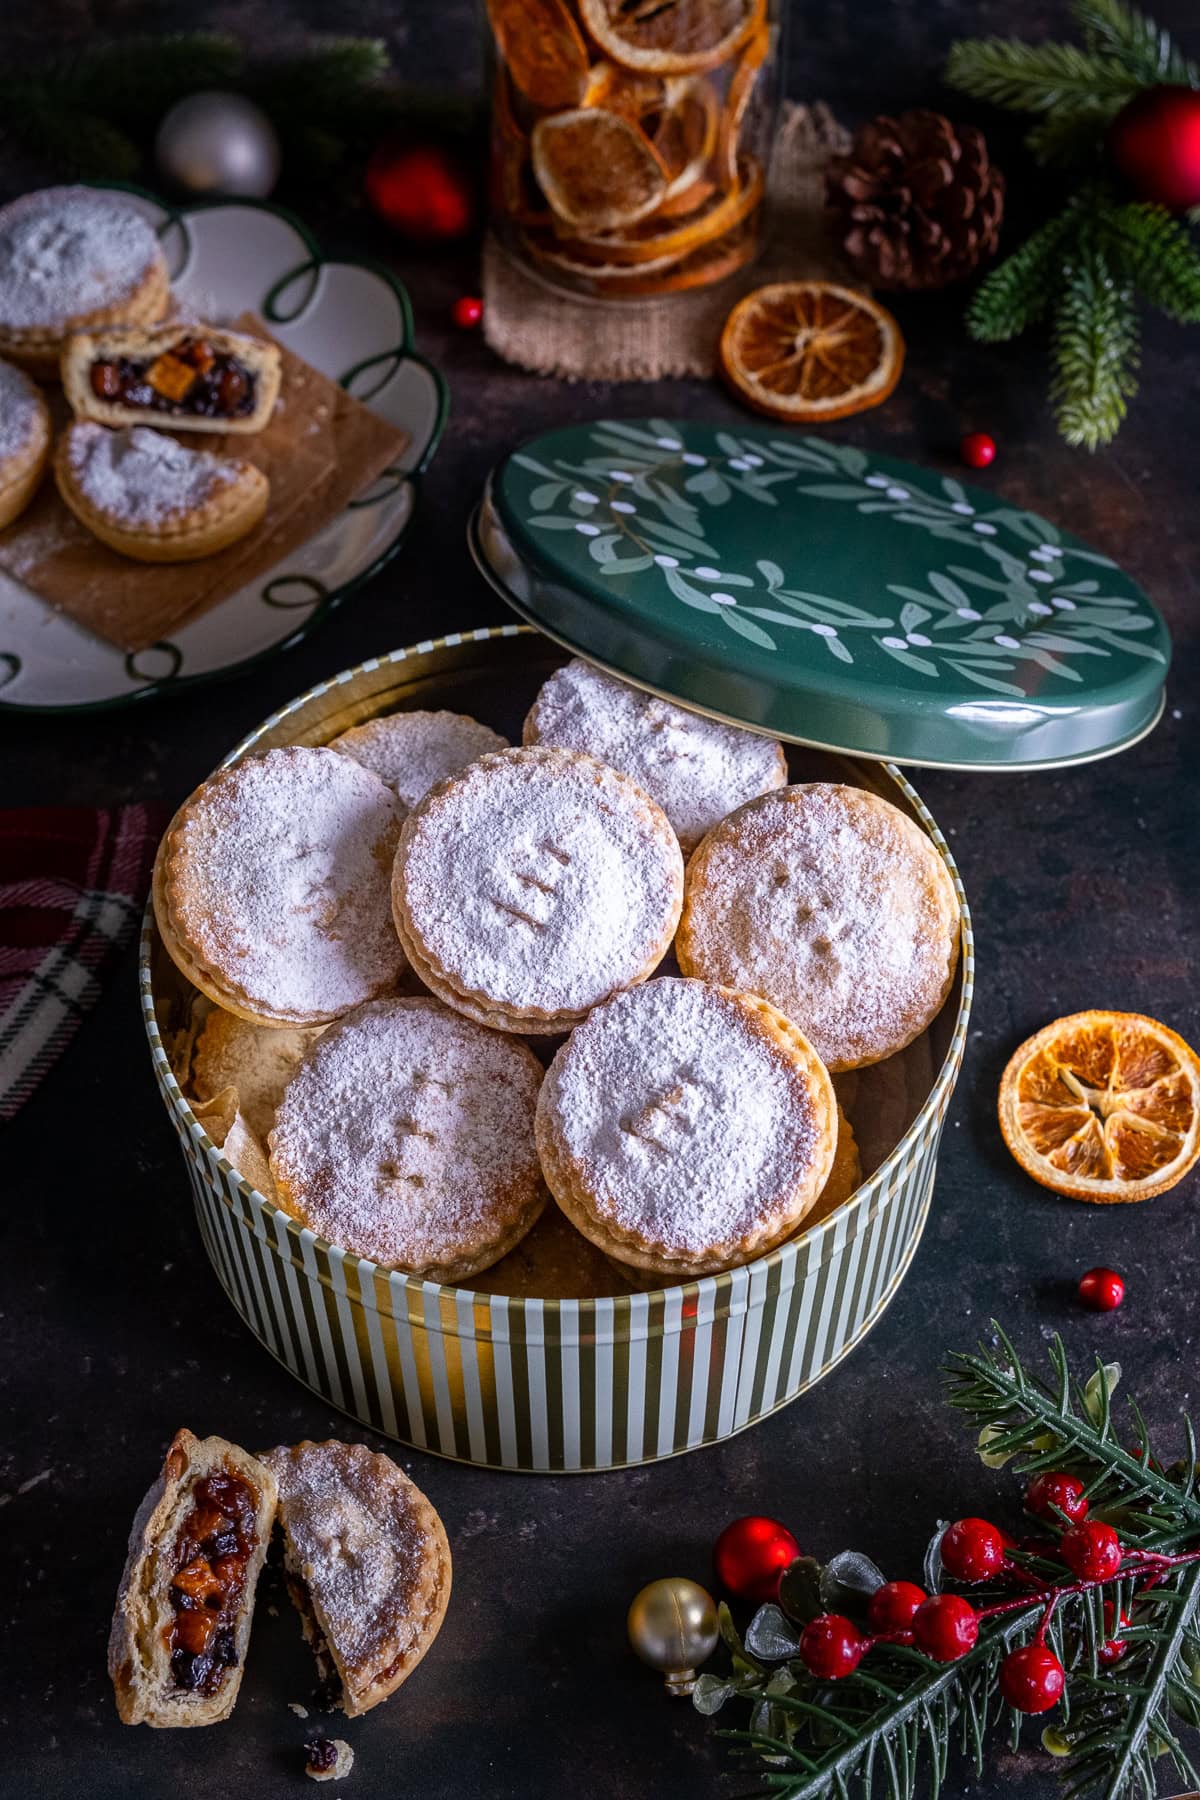
Once the mince pies have cooled completely, they should be stored in an airtight container (for example a cake tin). They will keep for about a week.
Can you reheat mince pies?
Yes, you can. Simply place the mince pies on a baking tray and place in a preheated oven, set to 200C / 180C fan / gas mark 6 / 400F, for 5-10 minutes.
Can you freeze mince pies?
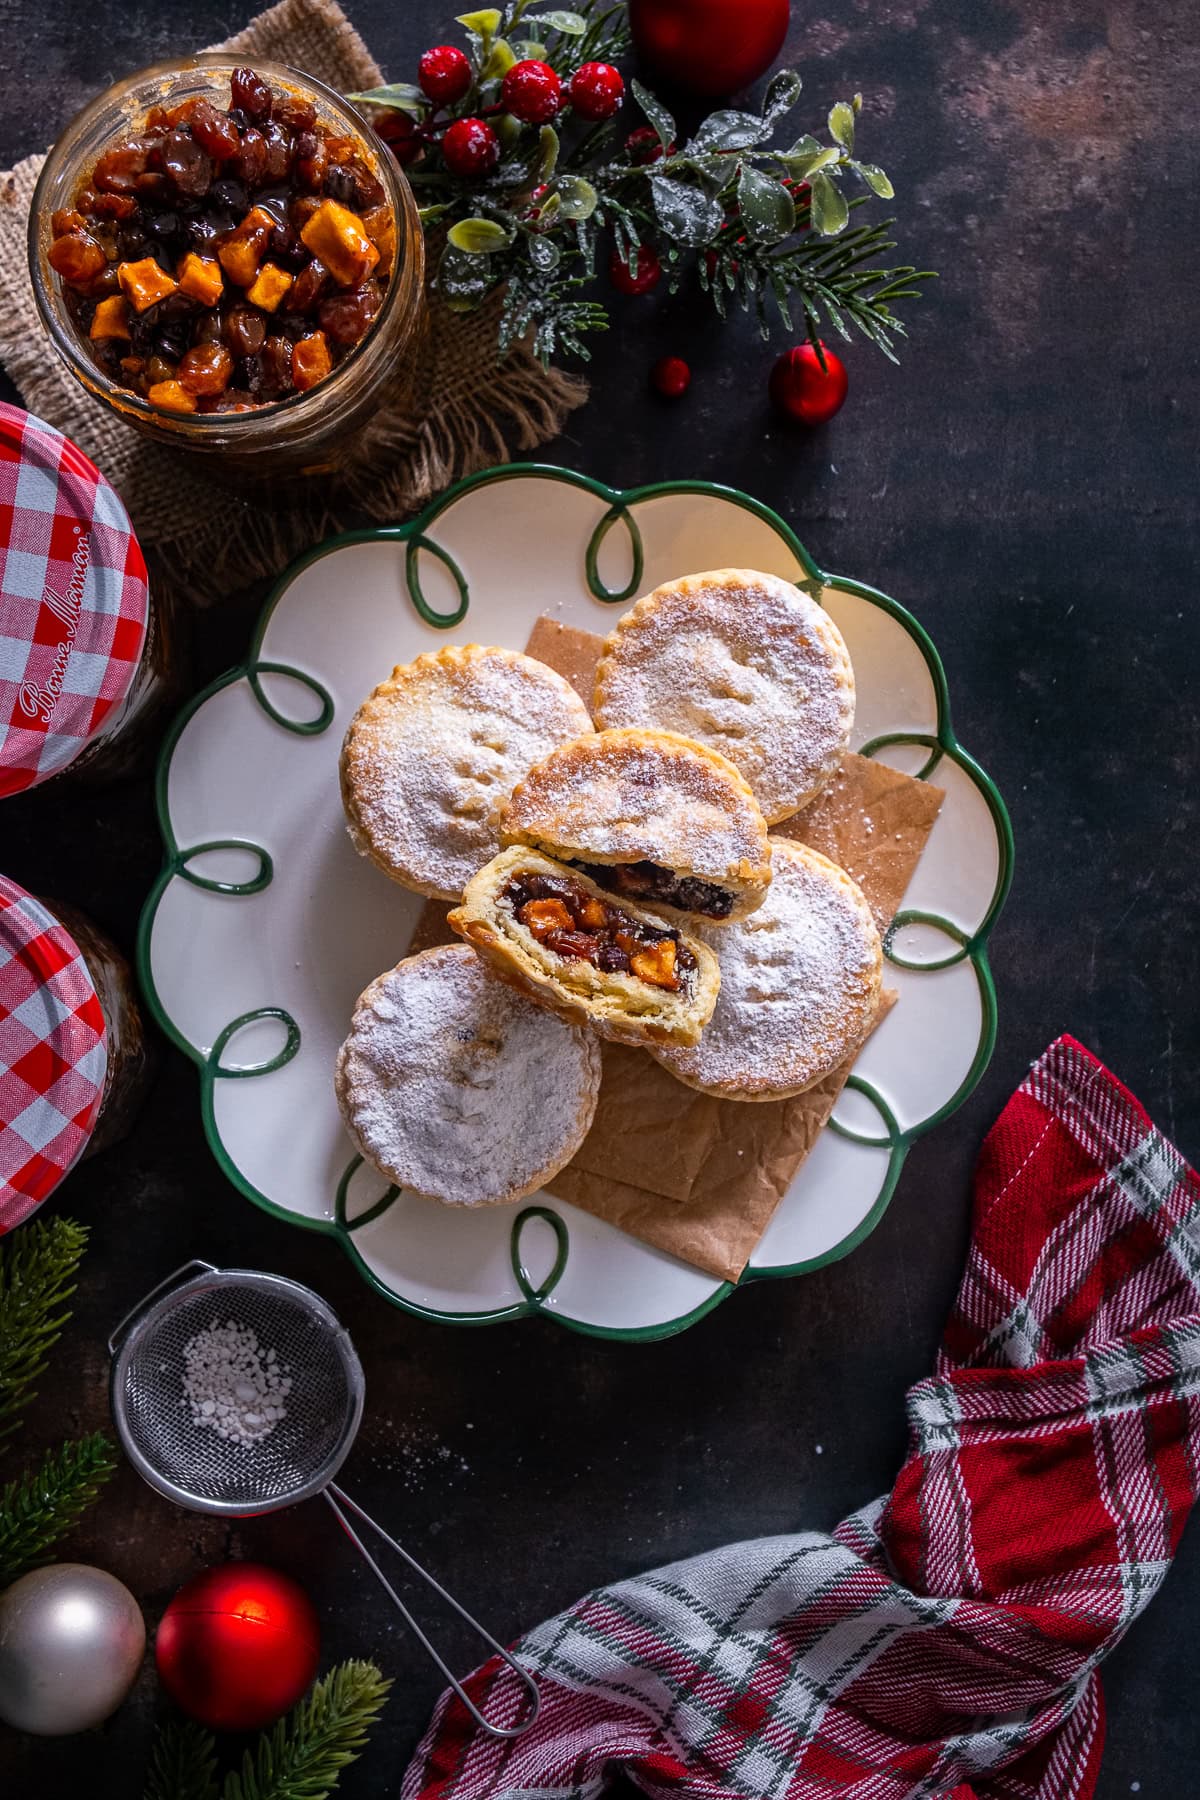
Mince pies freeze really well. Once cooled, simply place them in a plastic lidded container (put a sheet of baking parchment or greaseproof paper in between the layers) and pop them in the freezer, where they will keep for up to 3 months. Defrost at room temperature for a couple of hours.
Once defrosted, you can eat them at room temperature or reheat them as above.

If you like this recipe…
…you might also like:
- Easy Mincemeat Crumble Bars
- Easy Peasy Christmas Star Biscuits
- Easy Christmas Rocky Road
- Easy Mincemeat Christmas Cake (The BEST Christmas Cake Hack!)
- Easy Baileys Cheesecake (No Bake)

Easy Baileys Cheesecake

Traditional Mince Pies
Ingredients
- 400 g plain flour (US - all purpose flour), plus extra for dusting
- 200 g salted butter fridge cold - cut into 1cm / ½inch cubes (plus extra for greasing)
- Cold water
- 2 x 411g jars mincemeat (See Note 1)
- A little milk
- 3 tablespoons icing sugar
You will also need
- 2 standard cupcake trays (24 holes in total)
- 1 fluted 3 inch (7½ cm) pastry cutter
- 1 fluted 2½ inch (6½ cm) pastry cutter
Instructions
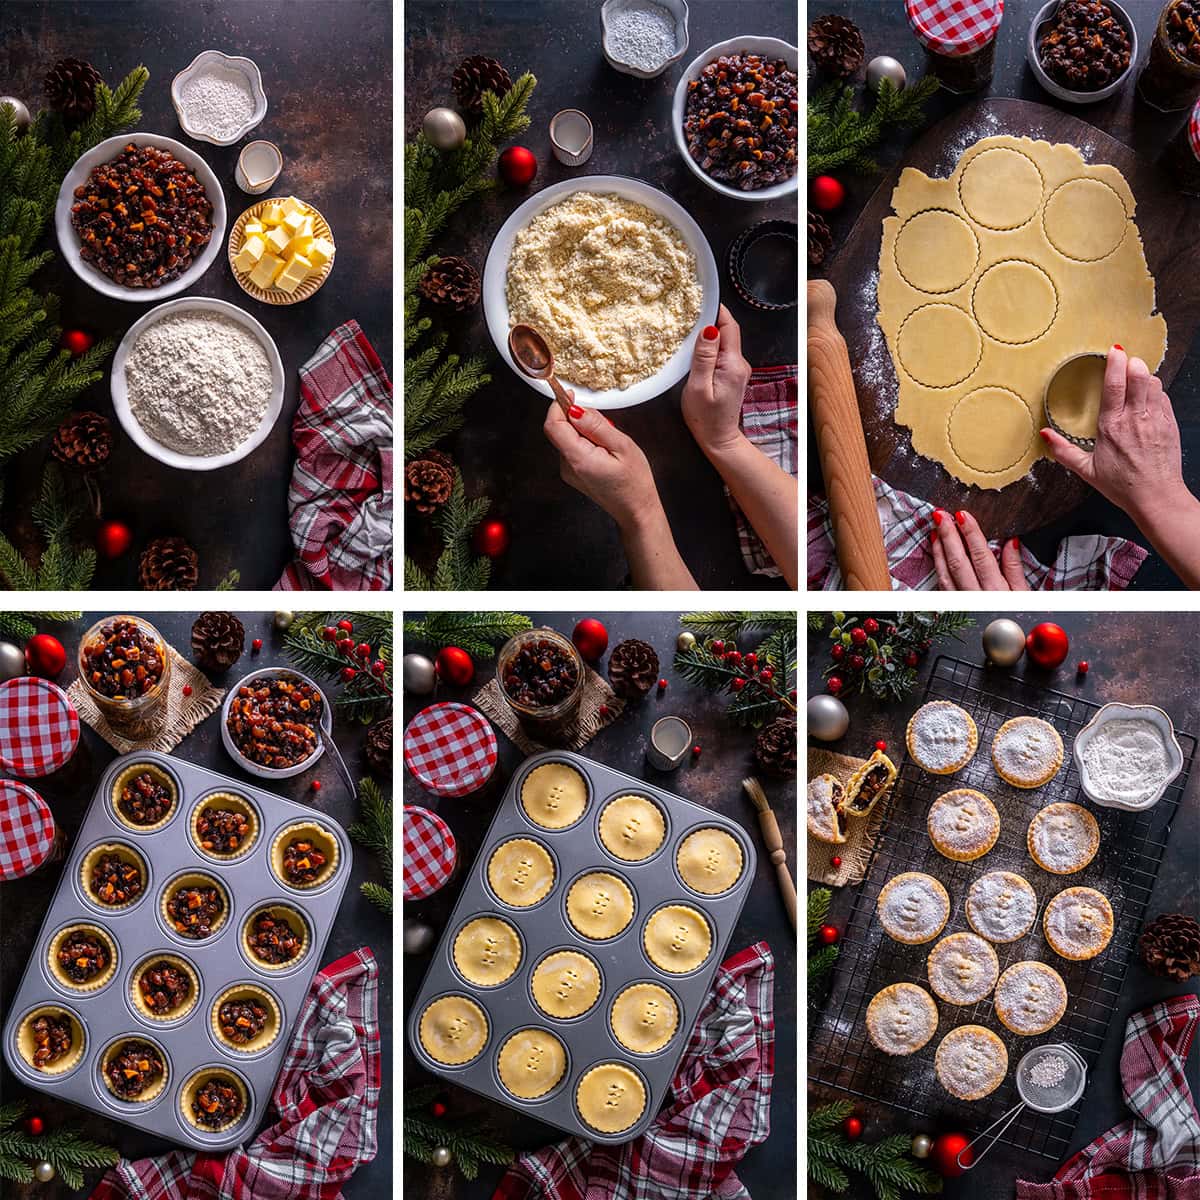
- Place the flour in the bowl (you can sieve it if you like, but I never bother) and add the cubes of cold butter. Rub the butter and flour between your fingers (as if you are trying to rub the flour into the butter) until it resembles breadcrumbs. (See Note 2.)
- Stir in a tablespoon of cold water and stir into the butter/flour mixture thoroughly. Add another tablespoon of cold water and stir in thoroughly. Repeat this process until the mixture just starts to come together. Don’t add too much water!
- As soon as your pastry starts coming together, stop adding water and use your hands to squish the pastry together into a ball.
- Split the pastry in two balls – roughly 400g and 250g (or whatever is left). Wrap each ball of pastry in clingflim, or place in a polythene bag, and put it in the fridge for 20 minutes.
- While you are waiting, grease the holes of your cupcake tray, using a little butter on some baking paper and preheat your oven to 200C / 180C fan / gas mark 6 / 400F.
- After the 20 minutes is up, take the larger ball of pastry out of the fridge.
- Sprinkle your work surface with a little flour and pop your ball of pastry on top. Sprinkle some more flour on top of the pastry, then roll your pastry out as thin as it will go.
- Using the larger fluted cutter, cut out 24 circles and place them into the greased holes of your cupcake trays. (If you find you run out of pastry before you have 24 circles, squish together the pastry, roll it into a ball and roll out thinly again – keep doing this until you have 24 circles.)
- Put 2 teaspoonfuls of mincemeat in the centre of each circle.
- Now, take the smaller ball of pastry out of the fridge, add to it any scraps left over from the larger ball. Sprinkle your work surface with a little flour and pop your ball of pastry on top. Sprinkle some more flour on top of the pastry, then roll your pastry out as thin as it will go.
- This time use the smaller fluted cutter to cut out 24 smaller circles. Dampen the edges of the smaller circles of pastry with a tiny bit of water and place them lightly on top of the mince pie, to form lids. Lightly press down to seal the edges.
- Using a pastry brush, brush a little milk over the tops. (Not 100% necessary, but it makes the mince pies go a more golden colour.) Then make 3 snips in the tops with a pair of kitchen scissors. (See Note 3.)
- Put the mince pies in your preheated oven for 20 minutes, or until pastry is golden on top and fully cooked.
- Take your mince pies out of the cupcake tins and place them on a wire rack to cool – I find it easiest way to do this is to lever the mince pies out with a dessert spoon – take care not to burn yourself as they will be super-hot!
- Once the mince pies have cooled down for about 5 minutes, put a couple of tablespoons of icing sugar into a sieve and dust the icing sugar all over the mince pies. (You can use an icing sugar dredger if you prefer.)
- The mince pies can be eaten warm or cold, on their own or with cream or custard.
- When the mince pies are completely cool they can be stored in a cake tin, or other air tight container… that is if there are any left!
Notes
- For best results, use homemade mincemeat. If you prefer to use shop-bought mincemeat, I recommend Tesco Finest Ruby Port Mincemeat or Marks and Spencer Classic Mincemeat.
- You can of course make the pastry in a food processor, if you prefer. Just pop the flour and the cubed butter in your processor and pulse until it resembles breadcrumbs, then add the water drop by drop and pulse until it starts to come together, then take the pastry out of the processor and roll it into a ball by hand.
- These 3 snips are essential to ensure the steam escapes. If you don’t do these 3 snips, the lids will pop off instead and the finished result won’t look so pretty.
- Suitable for freezing.
- Nutrition information is approximate and meant as a guideline only.
Pin Traditional Mince Pies for later

FREE 4 Week Easy Dinners Meal Plan
Have you got your hands on a copy of my meal plan yet? If not CLICK HERE to download a copy of my FREE 4 Week Easy Dinners Meal Plan today!
Don’t want to miss a thing?
Follow me on Twitter, Facebook and Instagram. Or why not subscribe to my blog and get delicious, stress free recipes straight to your inbox every week?
Disclosure
This blog post contains affiliate links, this means if you click on a link and go on to buy the product I recommend, I will get a small commission, but you will not be charged a penny more – thanks in advance!
Leave a Reply